-
Posts
3,786 -
Joined
-
Last visited
Content Type
Profiles
Forums
Events
Blogs
Gallery
Everything posted by YinTx
-
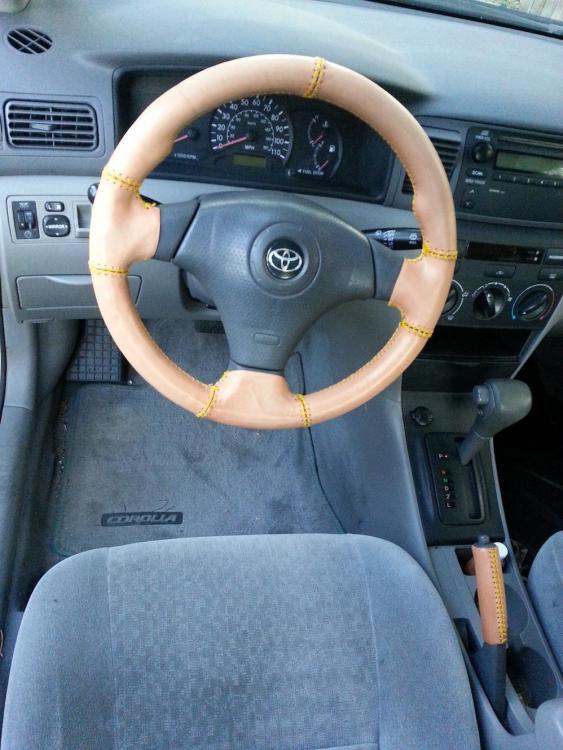
Thank you. It was a bit tedious, you have to pull each stitch tight, hold it, stretch the leather, do the next stitch. Took many hours. Had to prototype the shapes for each spoke and to get the shape for the enlarged sections just above the left and right spokes. Tried to use tape to get the shape, but that was a worthless exercise. Expect the leather to stretch too much in some places, not enough in others. Stitches occasionally pulled through the leather, had to take it all out and start again. I think skiving and folding for a double top grain for strength may help, as well as possibly adding some rip stop under the fold for strength would be a way to go in the future. Used soggy leather vs just wet, seemed to really help especially considering how long it took. Not sure it was worth all the effort, pretty sure no one would pay me enough to do their car. If I recall, it was 4 to 5 oz leather, could have used thinner but I worried the thinner leather would tear through too easily when pulling the leather and stitches tight. Used 1.4mm Tiger thread, really thick stuff. YinTx
-
Thanks! it was a bit of a challenge. I didn't actually change the dimensions of the wheel thickness, beyond the addition of the leather thickness. The contrasting colors seem to make it appear thicker than it actually is. Much more comfortable to touch than the old crumbled wheel texture! Thank you! Appreciate it. It is a pretty bold contrast. I debated dying the leather, but I expect the Hermann Oak leather to patina and tan in the Texas sun over time Because of this tho, I'm going to have to think up the shifter soon so that it doesn't come out a different color over time from the rest of it. I expect so, especially in the Texas sun! Hopefully it is somewhat even, and not dark on top and light on the bottom.. time will tell. I only used Carnuba Cream as a finish so I'm sure it'll pick up all kinds of colors, scratches, marks, sun, etc. YinTx
-
lots of brass and steel burnishers out there, I think even Sam Andrews uses a metal one in his holster shop. YinTx
-
The rubber on the wheel was a bit crumbly... so I fixed it. Course, had to do the E-brake to match...apparently I need to deal with the shifter next...not sure how to approach that one. YinTx
-
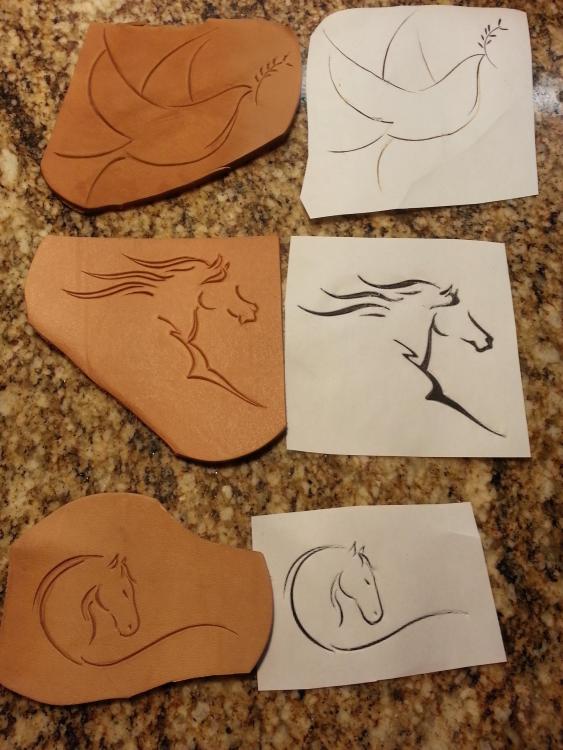
Well that was fun! Thanks for the challenge. I'm sure I could do it more justice if I tried again. Just grab some pieces of scrap out of the bin, and cut away. Those designs you put up are almost tailor made for finger carvings! So to answer your question, yes you could do them with just a swivel knife. I'm really digging the last horse. YinTx
-
How to remove the fibrous rear layer from ostrich leather
YinTx replied to wheeldawg's topic in How Do I Do That?
I think that is a CS Osborne 925 Skife. YinTx -
I have a nice big gouge in my hardwood floor from when a round knife I purchased completely fell out of the package after slicing the end, and fell straight down business end first and stuck itself in the floor. Was very grateful it wasn't my toes. It was simply dropped into a plastic envelope and sent on the way. When I picked it up, I wasn't expecting it to be the knife, because I couldn't imagine anyone sending something like that in the mail packaged like that. Can't tell you how many packages I get that have stuff falling out of them, gigantic holes, no tape, poorly packaged, damaged, etc. I always worry when I have something sharp or heavy on in the post. Mostly I worry for the delivery guys that are handling it on the way. YinTx
-
Walks like a duck? Talks like a duck? It kinda looks like the modern wood burnishers. Maybe a precursor? I'm still thinking shoes... maybe it was adapted for the previous owner's use. Perhaps the base is a diy. Maybe the bit is manufactured, especially since Rossr' has seen one before from another lot of tools. I'm wondering if it was intended to be used horizontally originally, and someone fabricated the base to be used vertically in their jobs, and really only needed to set vertical height once in a while to match a batch of jobs, or one particular job. Hopefully someone recognizes the bit. Perhaps from a line finisher for shoe soles or something? YinTx
-
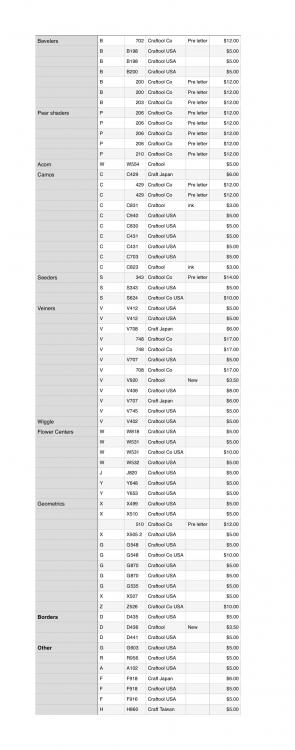
It is the .pdf on the last post. I'll PM you the list as well. YinTx For anyone else that can't open the .pdf. YinTx
-
-
yes they do. I once found a golf ball, so I took a scrap piece of metal pipe, hammered the end flat like a club, and beat the tar out of that golf ball all over the pecan orchard. I think a few pecans suffered as well. I keep waiting for one of his coasters to evoke that memory, lol. YinTx
-
Yeah, I would but these are kinda mangled. indeed, I'm easily entertained lol. And @DaveP's still has the spring intact! YinTx
-
Nice looking saddlebag there. A lot of thought went into that. I hope it serves you well for many years! YinTx
-
Now you're talkin my language. I don't like most of the border stamps out there, and always looking for something different. Just seems there is nothin different. Problem is I haven't hit a creative side of me yet to design one. And I don't have the tools and skills to make one, I don't think. And when I see something I think I might like, seller wants a clean hunner dolla bill for it. And it seems I'm too tight with my $, and keep making the eagle scream when I stretch the one I got. My sincere condolences on your loss, as well. YinTx
-
man, score! I'm trying to find replacements for the tubes, those are over $35 alone! YinTx
-
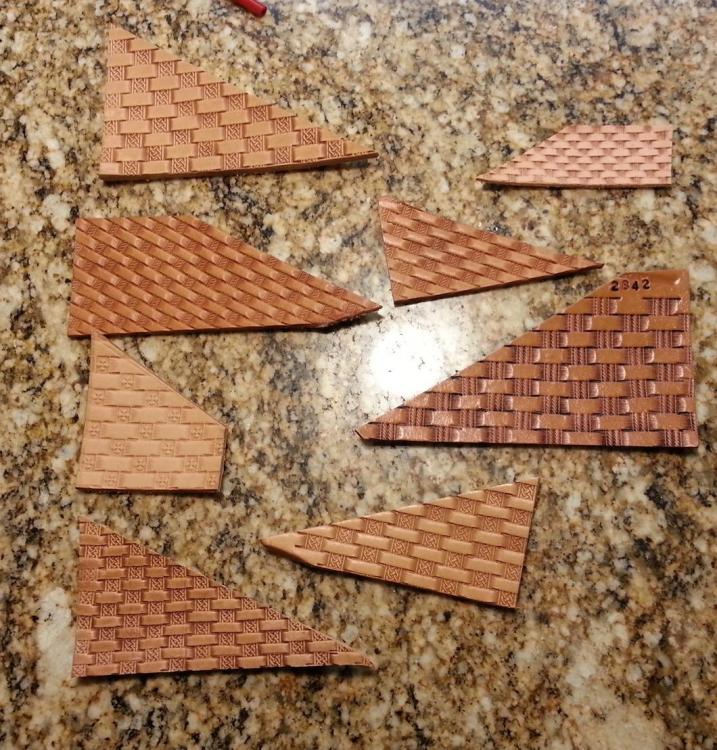
Most of my stamps land at different angles. To figure it out, I stamp a sample piece, cut along the line and along the diagonal like in the photo. This gives me the angle for that specific stamp. I just use the sample piece to lay out the first line of my first row of stamps, and then run with it. More than one way to skin this cat, but it's how I do it. YinTx
-
The lines are pretty good. The entire pattern needs to be rotated ever so slightly counter clockwise. That is freakin nitpicky, by the way, and only on occasion do I nail it right. Some of the stamps are getting deeper impressions than others - could be the leather, could be casing, could be the force of the hammer being slightly different. Also, freakin nitpicky. Camo stamps along the bottom are a bit out of whack, considering how nicely the basket is done. Some are slightly twisted, some high some low, some overlapping some gapped to far apart. That's a pretty brutal assessment of a nicely done bit of stamping that the general public wouldn't see a thing wrong in it. For a second piece of basket weave, you should feel pretty good about it. I did dozens before I felt I would let anyone look at one. YinTx
-
I'm impressed you were able to line up the stitches on the dividers with the tooling decoration on the outside so well. I've struggled with that effort myself! YinTx
-

Just some recent stuff
YinTx replied to DustinSmith's topic in Purses, Wallets, Belts and Miscellaneous Pocket Items
Absolutely cool! I love the LV bag shoulder straps! YinTx -
So yes and no, but long story short, experimenting is how you get the effects you want, which you have already inadvertently begun. Applying darker dyes in the areas you want dark, with a dry sponge over already dyed (say light brown) leather is one way to get this effect without the rub-off of antiques. Also, you could apply TanKote unevenly and allow to dry thoroughly as a resist to antique, which will prevent the antique from staining the leather under the TanKote, and result in similar looks. Use TanKote again after a few minutes of dry time, with a soft rag and work off the antique more in some areas less in others. Let dry and seal with TanKote again or Resolene. Many ways of going about this. Some just use dye with an airbrush. That is quite a lot of tooling and your basket/scale stamping looks spot on. Nice work! YinTx
-
A ball and a stick, that is all we used to need to entertain ourselves for hours on end. Nicely done! YinTx
-
I think one of the biggest issues is where you said: I am picturing a lot of antique gel sitting on top of leather for a long time, and drying out. Then you add a solvent to this (ie resolene, leather balm), and yep, it starts to come off! Not the best way. You should apply it, maybe let it set for a few minutes, then wipe off as much as you can with clean rags/towels/sheepswool, whatever. Let it dry some more, then wipe on TanKote or some other finisher that will further remove more antique gel. Wipe off a lot of that also. Let dry completely, then seal with resolene. Also trying to add an acrylic finisher on top of wax is a bit backwards too in my opinion. The wax prevents the acrylic from binding with the leather, so it just comes off easily later. You may still be able to rescue this piece by trying to get as much of the gel off with TanKote or Resolene on a sheeps wool piece. The wax may inhibit this tho. Pictures will help us understand your current situation also. YinTx
-

Fly Fishing Wallet
YinTx replied to WalterF's topic in Purses, Wallets, Belts and Miscellaneous Pocket Items
This was top in my mental design. I imagine it will make closure a world different. -

Fly Fishing Wallet
YinTx replied to WalterF's topic in Purses, Wallets, Belts and Miscellaneous Pocket Items
Oh. Oh no. no... no no no no ...... no no nnooooooo!!!! dammit. Also, I've already redesigned this thing in my head, so now I'll add a ring for a lanyard. Thanks for the tip! Now to put together 2 hours of time so I can actually make it... YinTx -
The post looks like a sam browne stud, maybe that will help with the search. The other part if you can't find it may be able to make it easy enough...nifty for sure. YinTx


