YinTx
-
Posts
3,809 -
Joined
-
Last visited
Content Type
Profiles
Forums
Events
Blogs
Gallery
Store
Everything posted by YinTx
-

Finally able to show these off!
YinTx replied to YinTx's topic in Gun Holsters, Rifle Slings and Knife Sheathes
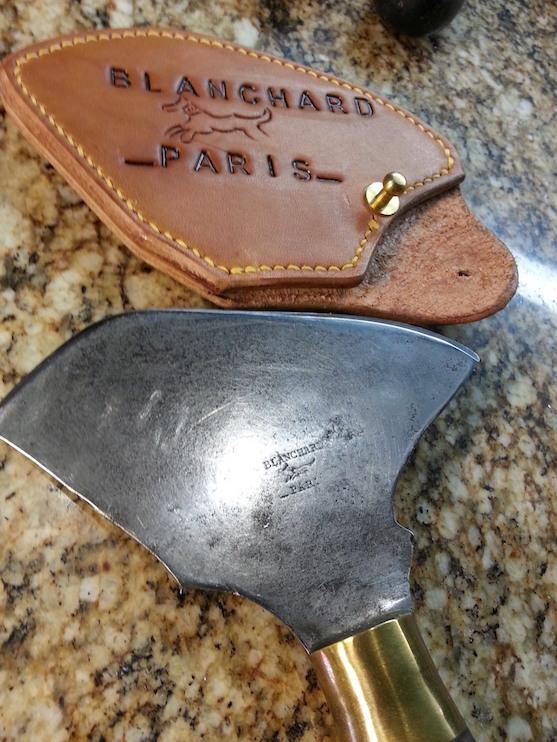
@Rossr, subtle but I finally picked out some of the differences. Notice the tail is below the body on the new logo, and above it on the old. Also, _PARIS_ is below the logo, new one has BLANCHARD. Old one has that above the logo, instead of VERGEZ. The old one has the ears perked up, and the collar is wider. Gait appears more of a trot in the old version vs. fully outstretched run in the new one. I think I still didn't do the old version justice, but then I'm the only one using the thing, so none of any of this really even matters. Just me being persnickety. YinTx -
Finally able to show these off!
YinTx replied to YinTx's topic in Gun Holsters, Rifle Slings and Knife Sheathes
Thank you, and indeed, I do! YinTx -
Finally able to show these off!
YinTx replied to YinTx's topic in Gun Holsters, Rifle Slings and Knife Sheathes
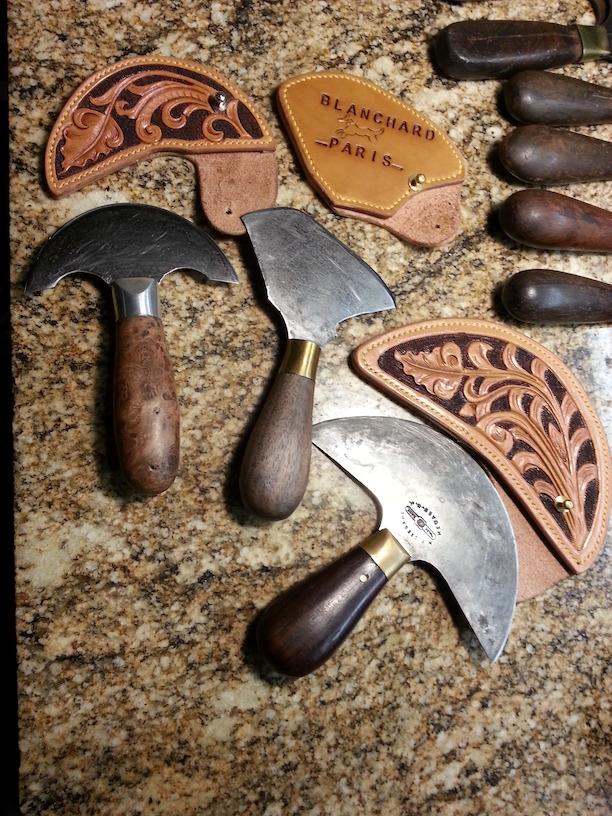
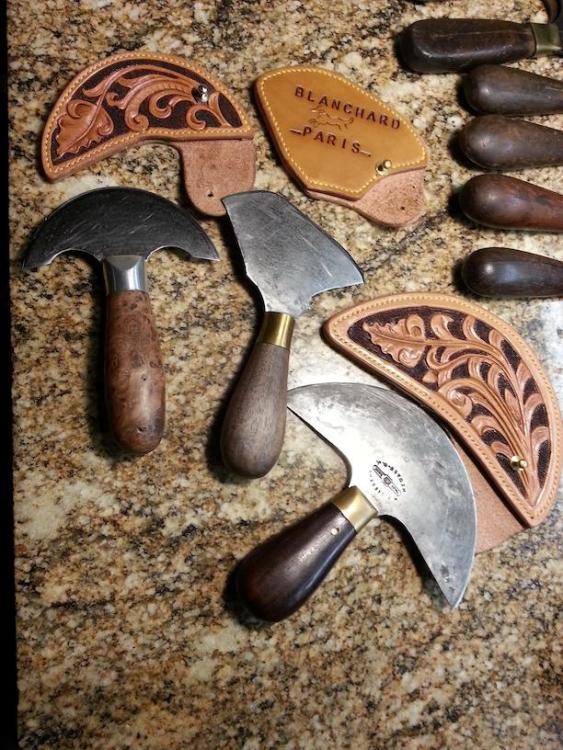
Didn't think to look for that. I just had noticed that some of the different tools I had seen had slightly different versions of the logo and mascot. So I did what I could to match the one on the actual knife the sheath was for! I had a link to some older website they had, which was in French. It seems they have updated recently. I get em where I can! The smallest one is an HF Osborne, also, and have never seen one that tiny. Not sure it started that way, but who knows!? The others in the background are C.S. Osborne (Newark), 3 W. Rose, and 2 Gomph. Tis but a fraction of the collection I seem to have amassed over the years. Have sold a few, and need to sell a few more. The Blanchard you put a handle on came from an individual in England, who said he got it from a fellow in France, who claimed it was really old when he purchased it in the early '70's. YinTx -
Finally able to show these off!
YinTx replied to YinTx's topic in Gun Holsters, Rifle Slings and Knife Sheathes
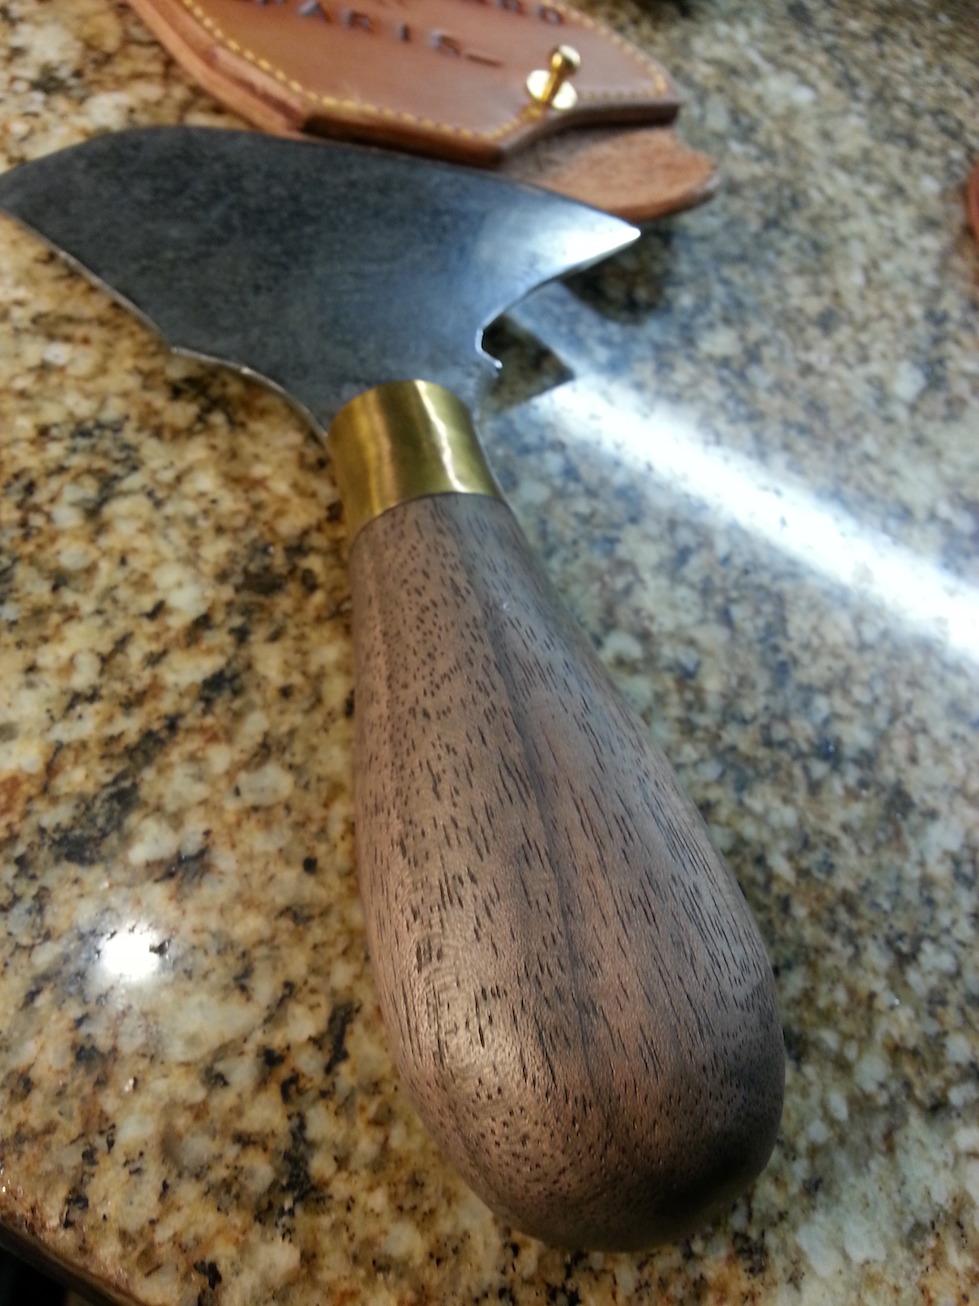
Thank you. And really nice work by @Rossr making the handles and ferrules for those two blades! Really happy with them. YinTx -
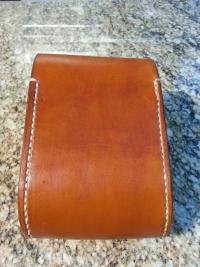
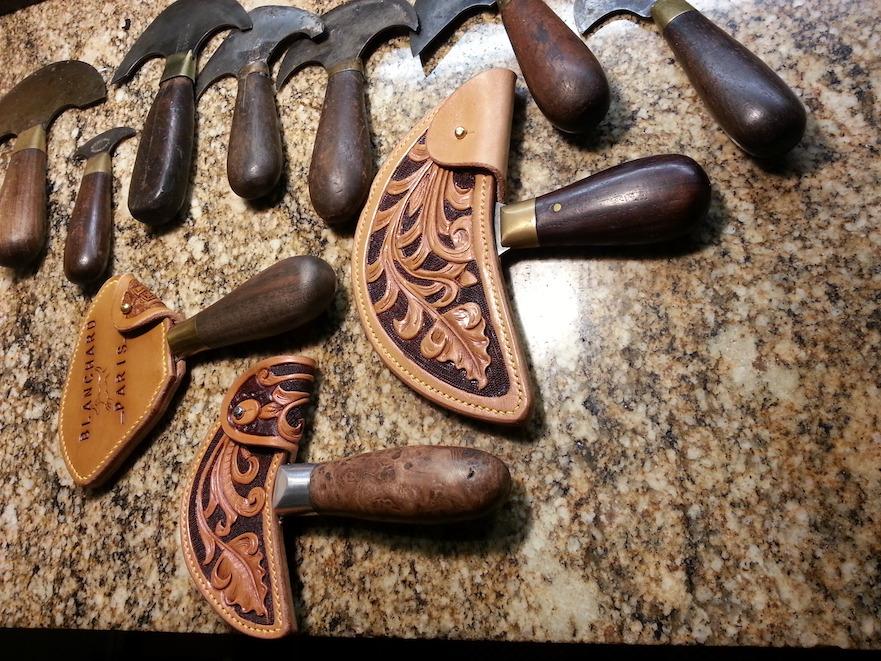
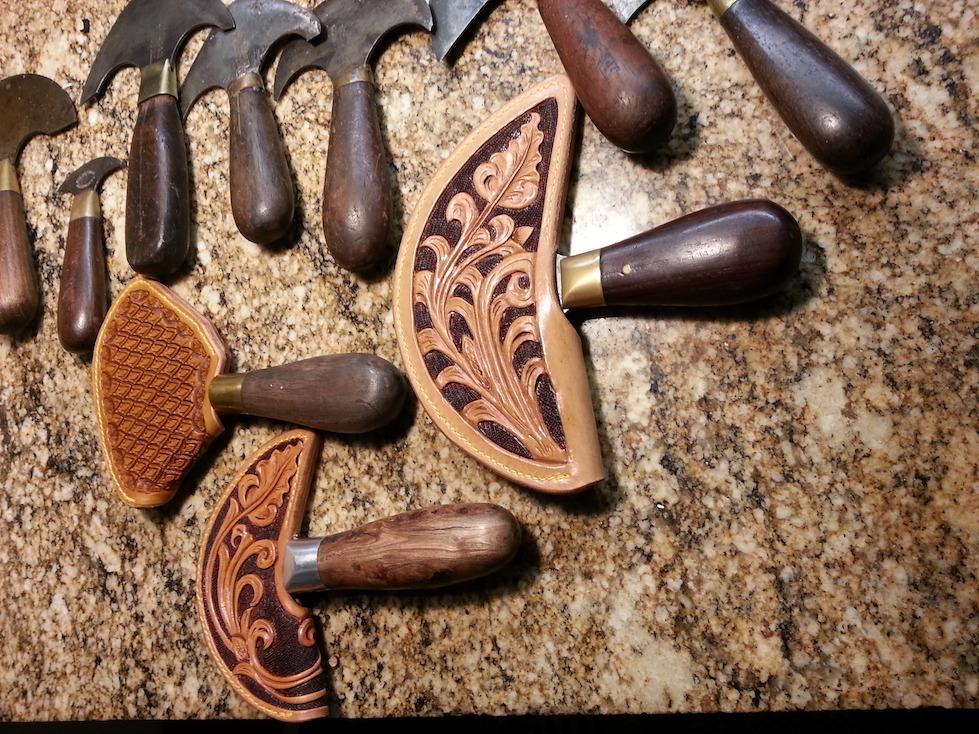
Finally finished up the sheaths for these three, so I can put them all in the same photo! 3 knifes, 2 have handles made by none other than @Rossr (burled handle, and the handle on the Blanchard). The Blanchard I have been using, and really like the functionality offered by this blade design. The burled handle fits very nicely in the hand, especially if you have larger hands. The third knife is an HF Osborne that I recently acquired. I took a photo of the Blanchard Emblem and used it for the basis of the sheath design, since the emblem is slightly worn, I have no idea if I represented it correctly! YinTx

-
Post a photo of said board. Maybe someone with the correct factor will appear. YinTx
-
Did they tell you what was wrong with the main board? Perhaps someone can repair it...?
-
I've also taken smaller bites to go round the corner, as in multiple passes. Kinda like cutting a rounded corner in leather with a straight edge: small cuts result in a curve. YinTx
-
It is nice work. I do have a question for you tho: on the molding around the back, it looks like the scope and mounts would result in too much retention: ie locked in place. Do you find this to be the case at all? Also, the deeply recessed moulding around the trigger guard: does it interfere with the trigger at all? YinTx
-
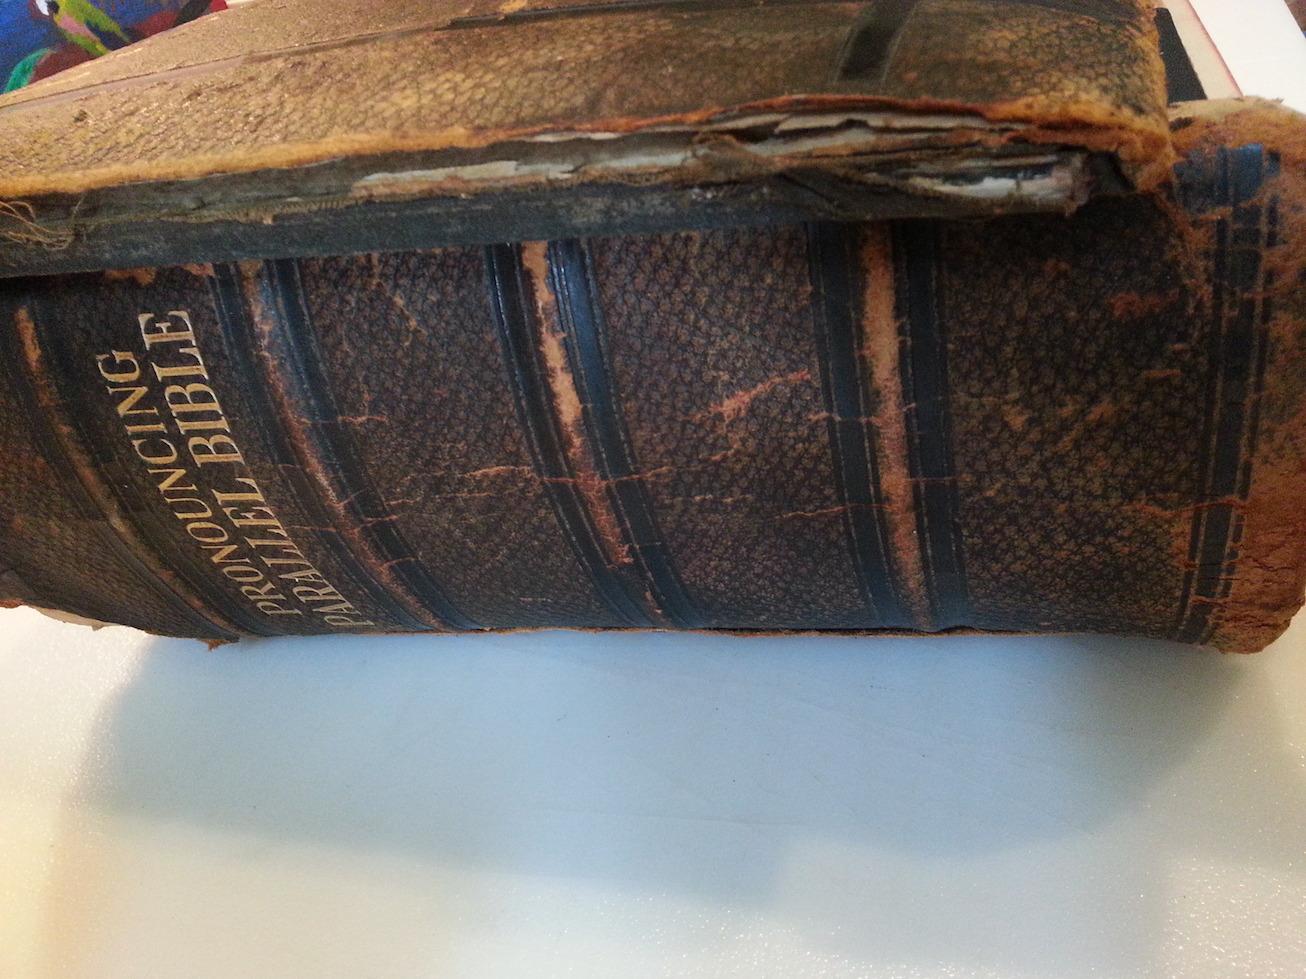
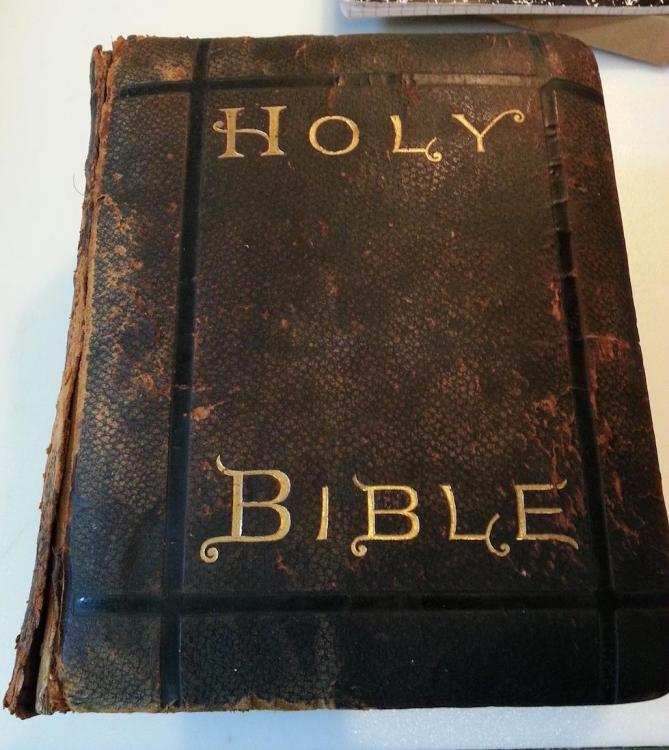
Well, at least I know to keep it under $3-400, otherwise I could have someone else do it! Of course, that is only the cover, not any repairs that are needed... They have an interesting take on binding, for sure! Thanks for the link. YinTx
-
An old Bible circa 1890 has me going down the winding bookbinding path... YinTx Edit: It weighs about 15 lbs ... with a pillowed cover... wouldn't want to start small or simple or anything...

-
Wow, thats a stout looking little beast! YinTx
-
yes, rabbit holes. I do leather work. I need a strap cutter. Check out this cool vintage strap cutter! Ah man, it needs a gib. Gee, I could make that $5 gib. I need to do a little research on metals. Oh, I see. I think I need an anvil. And a forge. And a hammer. I could make a forge. I need to research that. I need a good spot outside. I need a small building outside for my vintage metal working tools. I could build that. Probably need to run 220V to the building. No problem, I can learn how to do that. I probably need some electricians gear. Some of those gloves would be nice. To go with the gloves I got for working in the forge. That I need to build. So I can make that gib, for that strap cutter I need to fix. So I can cut leather straps, because I do leather work. This is my daily life, lol. YinTx
-
I've usually seen them as you have it. On occasion I'll get one in with two gibs on the bar, not sure why. Also, I've had better luck with some of the older ones with rosewood and brass handles than the iron ones, not sure why. Depends on what I am strapping as to which one works best. Also, whichever one is set up already sometimes works best. YinTx
-
Yep, thats the one. Sometimes they are different. Osborne sells new ones if your spares don't fit and you need replacements. YinTx
-
I have a lot of these in my collection. None with the Harrison, NJ mark that I know of. Those are the "newer" ones after they moved from Newark, NJ around 1906. So any time after that. Yours is in nice shape but appears to be missing all the gibs fwiw. YinTx
-
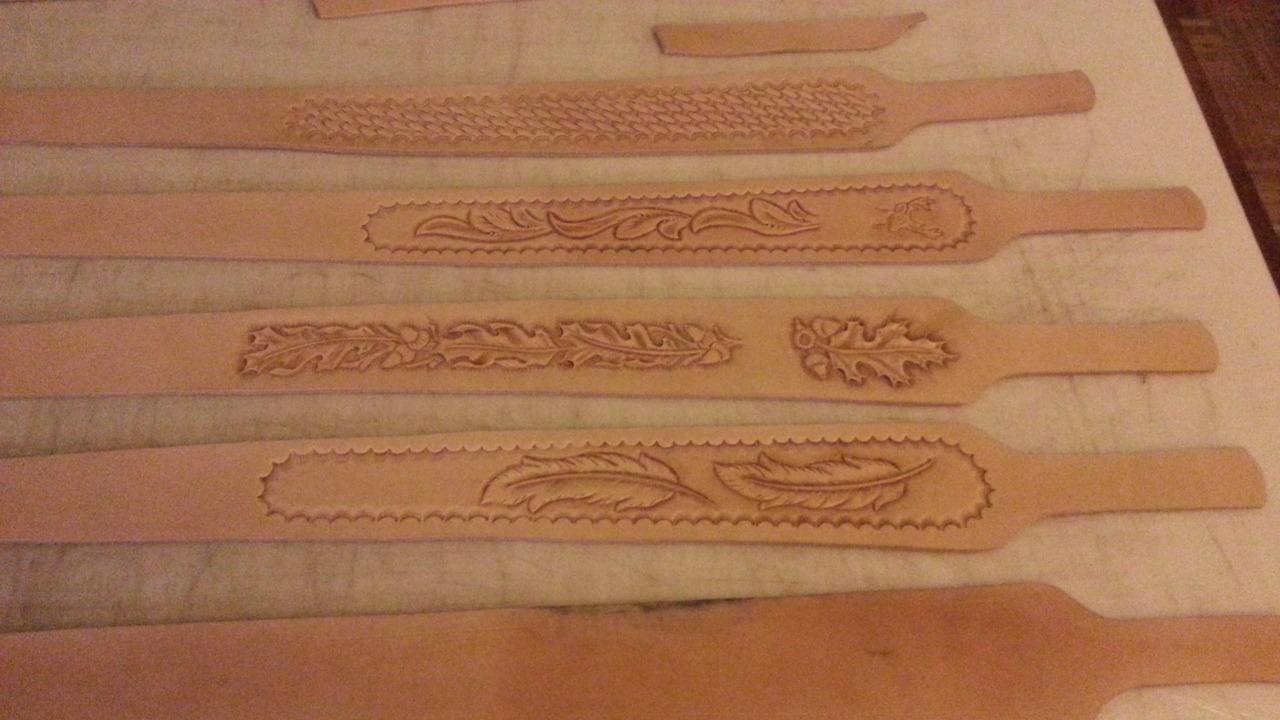
That is a really good look. Antiquing isn't always necessary and will sometimes bring out the flaws in the leather and tooling, or come out blotchy or streaky and just make you unhappy with the results. No antique may have been the right choice on this project! The finger carvings I did above have no antique also. No beveling either. YinTx
-
Nice rig for sure! Did you do the roon around the tooling?!?! That would be tedious for sure. YinTx
-
Not quite the same thing, but I've bookmarked it anyhow. I may have found what I am looking for... YinTx
-
maybe... don't "worry too much?" I haven't. YinTx
-
Yeah, that would be a blast... but not in the cards just yet, sadly. YinTx
-
Like, I want one, but the shipping tho.... YinTx
-
I had seen these before, gave me some ideas, but this shifter is a bit different. I didn't use any glue at all on the pieces I put on so far, hoping to not have to. All the stitches are functional and not decorative. Thank you! As an aside, I got to drive around with it finally. The stitching really gives some tactile enjoyment I wasn't anticipating, and it is everywhere regardless of hand position. I know where all the flaws are, and I can feel them as I drive, but interestingly instead of bothering me (I am a bit of a perfectionist), I really appreciate them. The contrast of the smooth leather and the rough thread is interesting. All the contours of the original wheel, with the finger bumps on the back, and the thicker grip sections above the spokes translate completely through the leather. It was just really enjoyable, especially in contrast to the dry crumbly uncouth rubber from before! Despite the struggle to get this thing together, I am really glad I did it! YinTx
-
Thank you. It was a bit tedious, you have to pull each stitch tight, hold it, stretch the leather, do the next stitch. Took many hours. Had to prototype the shapes for each spoke and to get the shape for the enlarged sections just above the left and right spokes. Tried to use tape to get the shape, but that was a worthless exercise. Expect the leather to stretch too much in some places, not enough in others. Stitches occasionally pulled through the leather, had to take it all out and start again. I think skiving and folding for a double top grain for strength may help, as well as possibly adding some rip stop under the fold for strength would be a way to go in the future. Used soggy leather vs just wet, seemed to really help especially considering how long it took. Not sure it was worth all the effort, pretty sure no one would pay me enough to do their car. If I recall, it was 4 to 5 oz leather, could have used thinner but I worried the thinner leather would tear through too easily when pulling the leather and stitches tight. Used 1.4mm Tiger thread, really thick stuff. YinTx
-
Thanks! it was a bit of a challenge. I didn't actually change the dimensions of the wheel thickness, beyond the addition of the leather thickness. The contrasting colors seem to make it appear thicker than it actually is. Much more comfortable to touch than the old crumbled wheel texture! Thank you! Appreciate it. It is a pretty bold contrast. I debated dying the leather, but I expect the Hermann Oak leather to patina and tan in the Texas sun over time Because of this tho, I'm going to have to think up the shifter soon so that it doesn't come out a different color over time from the rest of it. I expect so, especially in the Texas sun! Hopefully it is somewhat even, and not dark on top and light on the bottom.. time will tell. I only used Carnuba Cream as a finish so I'm sure it'll pick up all kinds of colors, scratches, marks, sun, etc. YinTx