Dwight
-
Posts
5,247 -
Joined
-
Last visited
Content Type
Profiles
Forums
Events
Blogs
Gallery
Store
Everything posted by Dwight
-
 You can do it if you don't stitch the belt . . . fair hawkers do it all the time. With the stitching . . . take his money . . . tell him to come back in 30 minutes . . . If I go to the fair this fall . . . that is what I will do. May God bless, Dwight
 -
Best wishes on your wife and her health . . . Man but do I ever hate slaving over a hot micro wave . . . May God bless, Dwight
-
Thanks all . . . Now to just figure out what to do . . . sure wish Dixon had not gone out . . . Might just toss my hat in that ring . . . see if I can just make one for myself . . . May God bless, Dwight
-
Took a while to find it . . .
-
There was a short video I saw the other day . . . a Brit . . . he made belts . . . and had a rather interesting looking beveling tool. The thing had a wooden handle . . . and about 8 or 10 inches of metal came out from it . . . had a separation almost like antennae . . . and did a beautiful job of rounding the edge of that belt. Just wondering if anyone on here knows where I could pick one up. May God bless, Dwight
-
Thanks, Double Daddy . . . That's all I'm looking to do . . . May God bless, Dwight
-
Welcome to the forum . . . good looking work you do. And as stated . . . thank you for your PGR affiliation . . . it's good work. Also . . . for a moment I tried to figure out when I posted this . . . so I came to look at it . . . Turns out there are two of us on here . . . May God bless, Dwight
-
I need a belt expert
Dwight replied to Dwight's topic in Purses, Wallets, Belts and Miscellaneous Pocket Items
Don't have a dog . . . but it would go there if I did. Now you want to hear the really scruffy part ??? I made the second one . . . out of the same side of the hide . . . was careful to make sure no defects . . . careful to make that buckle end come from the "back" . . . umm did it look good. Went out the next morning . . . checked it before dying it . . . darned if it didn't have a bad spot on it . . . picked up a small drop of contact cement . . . will not let dye thru . . . looked like garbage. Made a third belt . . . got it all sewed (double stitched all the way around) . . . dyed . . . noticed a small scar on the back side of the belt. Thankfully the final finish will cover that one . . . I am going to be glad to hand this order to it's owner . . . and he and I will laugh about the problems . . . as we are good friends. Thanks everyone for your comments and your support . . . May God bless, Dwight -
If you can find an old cobbler's last . . . it'll take all the pounding you want to give it I would think' May God bless, Dwight
-
Gotcha . . . but for what I'm looking to do on the leather only . . . do these 300 . . . 400 . . . 500 dollar lasers do what I'm looking for??? Some guys use theirs for cutting . . . I'm not really interested in that . . . more just the engraving . . . decorating . . . etc. And . . . how does it do the engraving? I'm thinking it just uses the power of the compressed CO2 . . . would that be how it is done? Thanks, may God bless, Dwight
-
And what exactly is your problem??? I asked a couple of questions . . . because I did not know the answers. If you have a problem with people asking questions . . . maybe you ought to go somewhere else where people are more like you . . . . and know all the answers all the time. May God bless, Dwight
-
Leather bottle holder
Dwight replied to crazytailorlady's topic in Purses, Wallets, Belts and Miscellaneous Pocket Items
Three word question: does it work? If it does . . . it is great. . . marvelous . . . wonderful . . . excellent. Fancy billfolds . . . gun holsters . . . some knife sheaths . . . some belts . . . they all need special cutting, some tooling . . . some stamping . . . just so they are really presentable to the general public who will view them . . . and criticize them given the opportunity. This is a utilitarian leather tool . . . be glad it works . . . that is all it needs to do. AND . . . you are braver than me . . . I don't tackle them round projects . . . May God bless, Dwight -
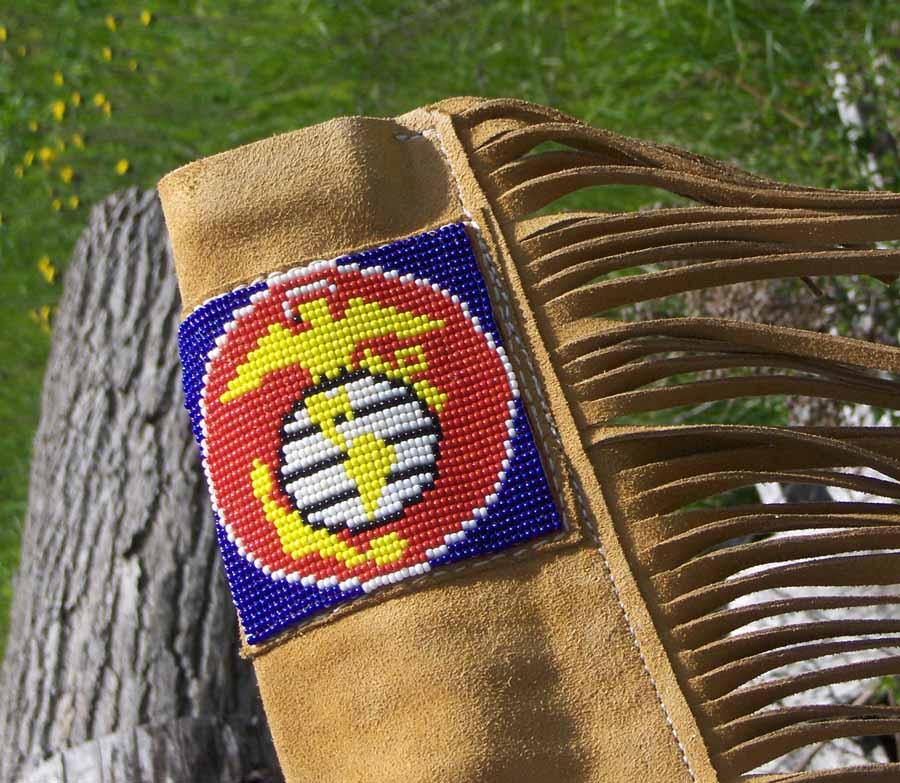
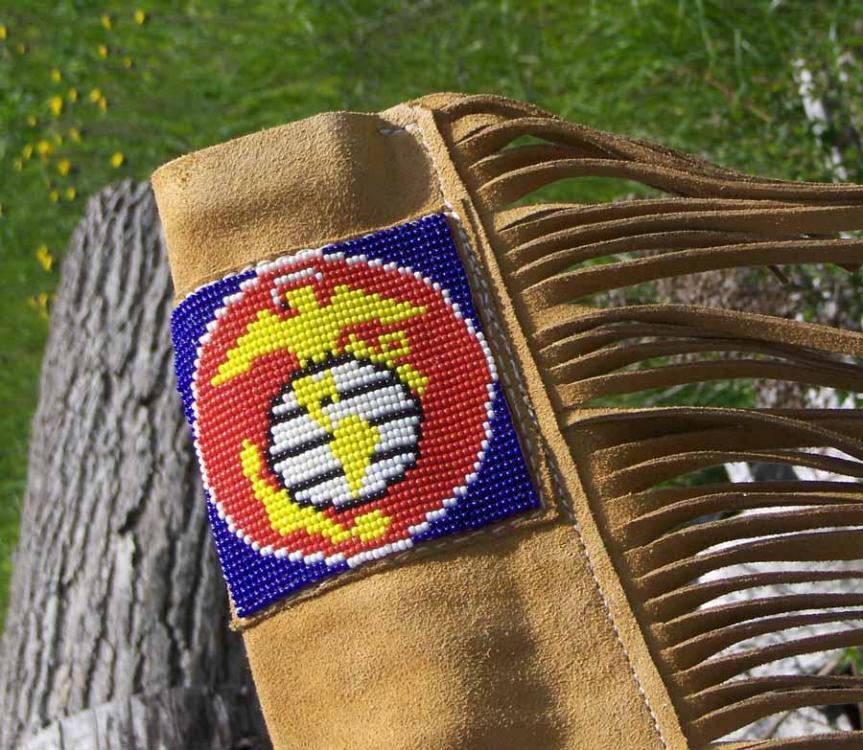
I make holsters, belts, knife sheaths, and gun bags. Whenever I "get in a rut" so to speak . . . I just go braid a billfold . . . or make a billfold. It usually cures any bad feeling I had earlier . . . then I toss the billfold and I feel better. Seriously . . . I enjoy what I do . . . with some added stuff. . . I do a little bit of bead work here and there . . . or paint an image on a holster . . . or just make a new type/style of holster. May God bless, Dwight
-
I need a belt expert
Dwight replied to Dwight's topic in Purses, Wallets, Belts and Miscellaneous Pocket Items
I'm thinking that is the route I'm going to have to go . . . I looked at adding the extra layer . . . but it won't be like the sibling's belts . . . and that just one way or another may start a family fight . . . and like you said . . . lose the customer. First of the week I'll get back to it (church yard sale going on now . . . and I'm the grill cook . . . lol) May God bless, Dwight -
Cowboy Outlaw, Tippmann Boss or niether?
Dwight replied to Loki74's topic in Leather Sewing Machines
I have zero experience with the cowboy . . . but comparing them side by side . . . to me it looks like a cheap . . . sorry . . . imitation. OTOH . . . 20 yrs + with the Boss . . . it's still carrying on . . . doing what it was intended to do . . . it has had excellent support from the mfg staff . . . I now own a cowboy 4500 . . . but am keeping the boss for backup. May God bless, Dwight -
Ohio travel bag specializes it stuff like that . . . take a look . . . https://ohiotravelbag.com/ AND . . . they are really great people to work with . . . May God bless, Dwight
-
cylinder arm machine - which is best for my needs
Dwight replied to Blanka's topic in Leather Sewing Machines
Blanka . . . just "sort of" across the border from you in Toledo Ohio . . . https://www.tolindsewmach.com/parts.html . . . is "the" man for a Cowboy sewing machine. The 3200 is about $2400 . . . the 4500 is about $3300 . . . the 32 will sew up to I think 1/2 inch . . . the 45 will go up to 3/4 inch. I can attest to the 3/4 . . . as I went up to buy the 3200 and wound up with the 4500 . . . which I am absolutely satisfied with. I do belts, holsters, sheaths, gun bags . . . and when the fancy strikes me up the side of the head . . . a wallet or purse. Take a day . . . go see him . . . (call in advance) . . . he has a boat load of used machines . . . is easy to deal with . . . and will do you good. You're basically 600 miles from him . . . so yeah . . . maybe 2 days . . . but I truly believe you will find the trip worth it. Yeah . . . and you can tell him Dwight sent you . . . May God bless, Dwight -
95591775_3058560487535272_983905603682304000_o.jpg
Dwight commented on Stewart's gallery image in Our Leatherwork Galleries
 OK . . . what do you do with it?
 -
Just made 4 belts . . . for 4 children of a friend. One black . . . two saddle tan . . . one medium brown . . . all are 2 layer . . . bonded with Weldwood contact cement . . . stitched. My problem??? One of them did something I've never seen before . . . the leather at the buckle end (about 8 inches of leather where it folds over . . . buckle goes in . . . 2 chicago screws . . . and belt keeper . . . the usual way of making a belt. That 8 inches of belt went to hell in a hand basket . . . after it dried from the dying process . . . it is flimly, wrinkled, flattened out wider in the middle . . . and just looks like hades warmed over. I want to cut that 8 inches off . . . and re-sew that end . . . and I know someone has done that in the past and made it really look good . . . I'm sitting here like a dumbkin trying to figure a way to make it look good. Rescue me guys . . . I need to get this order out. May God bless, Dwight PS: after making belts for over 20 years . . . this is the one and only that has ever done this to me.
-
Belt for myself
Dwight replied to Fonzarellis's topic in Purses, Wallets, Belts and Miscellaneous Pocket Items
Beautiful belt . . . beautiful work . . . But I did have to giggle . . . that pattern of buckle and hardware was hanging on a Tandy wall about 15 or so years ago. . . . and I became enamored with it . . . grabbed it and took it home. Decided to create my gun holster and belt . . . and adorn it with that buckle group. Being a pastor . . . my holster and belt were just plain . . . the buckle being the adornment to the whole piece. Imagine my surprise when I found out the name of that group is "El Diablo" . . . The Devil. But I wear it anyway. May God bless, Dwight -
I had my heart set on one of those earlier this year . . . and was about 2 weeks away from going up to get it in Toledo Ohio . . . Was talking to a friend . . . one who knew I did leather . . . we got to talking about it . . . Thanks to that conversation . . . I was later given a "gift" amount to help me get the thing . . . and when I went up there . . . fell in love with the 4500 . . . got it and never looked back. I'll be in debt to my friends for years . . . but it was so much fun . . . sewing 4 belts the other day . . . and not doing them on a Tippmann Boss. May God bless, Dwight
-
OK guys . . . I'm impressed as I can be . . . and about equally confused. Honestly I'm looking to laser engrave the back of billfolds . . . some belts . . . purses . . . etc. Would like also to be able to do some on metal . . . like initials on a belt buckle . . . etc . I'm thinkng looking at some of the models offered on Ebay . . . they do 400 by 500 mm or so . . . was thinking of doing the first 400 mm of the belt . . . move the leather and have the laser pick up where it left off by some imaginative designs. Thinking of deer hunting scenes . . . deer . . trees . . . meadow . . . etc. How powerful a machine would I need to only do stuff like this? AND . . . will I have to buy special software . . . or can they take my "picture" or drawing and do it from there??? Thanks, may God bless, Dwight
-
I built a 22 by 14 dedicated craft / reloading / computer / lounge / etc . . . room. My wife has never said "thank you" . . . but she was happy to see all that stuff get out of her house . . . May God bless, Dwight
-
Glad to see you got it under control . . . Nice looking bag . . . May God bless, Dwight
-
I did similar to a shoulder holster one time. After messing with it for way too long . . . It went into the trash . . . garbage man carried it away . . . along with the trouble it would have continued to cause me. May God bless, Dwight