


rodneywt1180b
-
Posts
571 -
Joined
-
Last visited
Content Type
Profiles
Forums
Events
Blogs
Gallery
Store
Everything posted by rodneywt1180b
-
Welcome!
-
I think it's a good idea. I'm one of those beginners who has ordered the wrong leather. When I started I didn't know the differences between different leathers, in fact I'm still learning. Pretty doesn't necessarily mean it's right for the project. I do think it's a huge undertaking. Be prepared for it to take some serious time.
-
Valknut wallet
rodneywt1180b replied to datdraku's topic in Purses, Wallets, Belts and Miscellaneous Pocket Items
Beautiful work. How did you do the trees and birds? -
I'm hoping someone with more experience will chime in on this. I know someone here has done this sort of work before.
-
Sharp looking bag!
-
I'm assuming the one in the picture is an example and not one of her toques. Looks to me like they're using thin splits for the tags. It also looks like the tag is doubled over the edge of the toque and sewn once at the top. I think I would look at a custom ink stamp with her logo and stamp them that way (relatively cheap, not as permanent). Maybe have her buy the stamp, she can use it for other things too. Other more permanent ways might be to use an embroidery machine if you have one or a custom brand. You could also use thin veg tan and stamp the letters/logo into it. I wonder if leather can be fed through a printer? That would make short work of it.
-
How many are you making?
-
Trying My Hand at an F.O. Baird Pattern
rodneywt1180b replied to YinTx's topic in Floral and Sheridan Carving
I'm sure a few choice words were said on that. Other than that it looks good. -
Just finished knife sheath
rodneywt1180b replied to Vaelloc's topic in Gun Holsters, Rifle Slings and Knife Sheathes
Really huge upgrade! -
Brogue inspired wallet
rodneywt1180b replied to stormcrow's topic in Purses, Wallets, Belts and Miscellaneous Pocket Items
Great looking wallet! Do you know any GOOD shoe stores that might display a few? It seems they would be a natural sell in one. -
Their stitching is better than mine.
-
Okay, who else kaint breathe?@!
rodneywt1180b replied to JLSleather's topic in All About Us and Off Topic
I still have a nasty little chest cold. I practiced moderation this year. But it was only because I had to. -
A Collaboration on a Cane
rodneywt1180b replied to rodneywt1180b's topic in Leatherwork Conversation
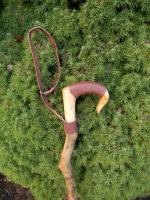
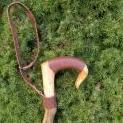
I think so too. I have some more oak. It's not great for handles but I can get some good end caps out of it. EDIT: I'll mail you a pattern after you decide which handle you want. That way I can get it sized correctly. Here's a smaller cane I just finished a few days ago using some of the oak I mentioned above. I'm thinking the darker areas might work, they're a more or less chocolate brown. Just trying to confuse things a little more.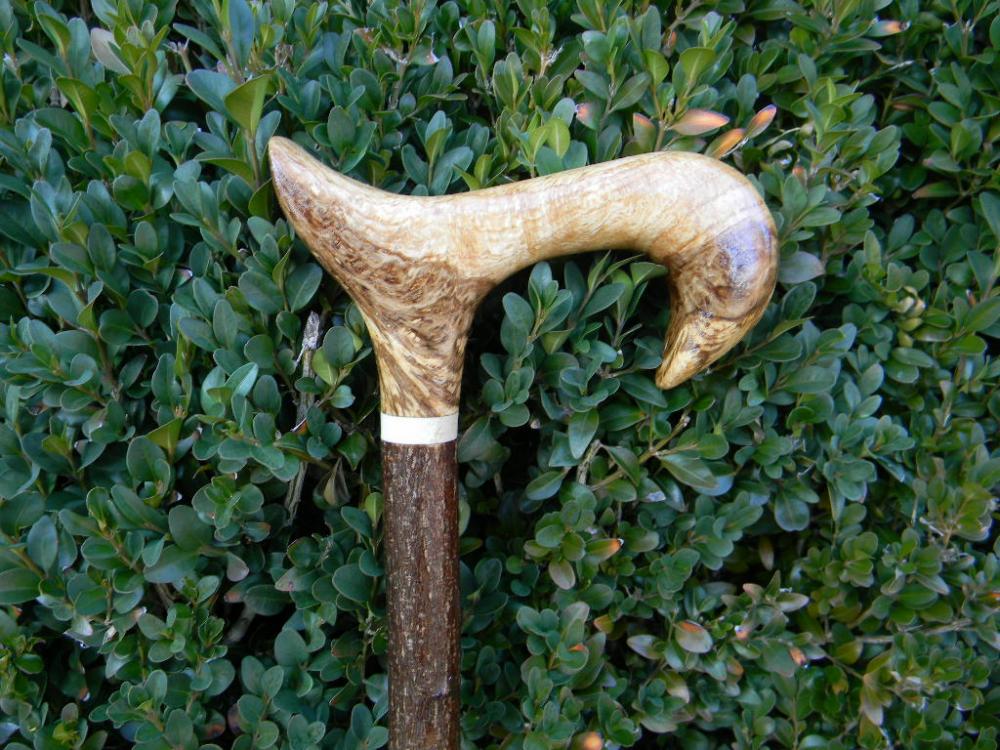
-
A really beautiful and meaningful job. You've made a huge difference in that lady's life.
-
A Collaboration on a Cane
rodneywt1180b replied to rodneywt1180b's topic in Leatherwork Conversation
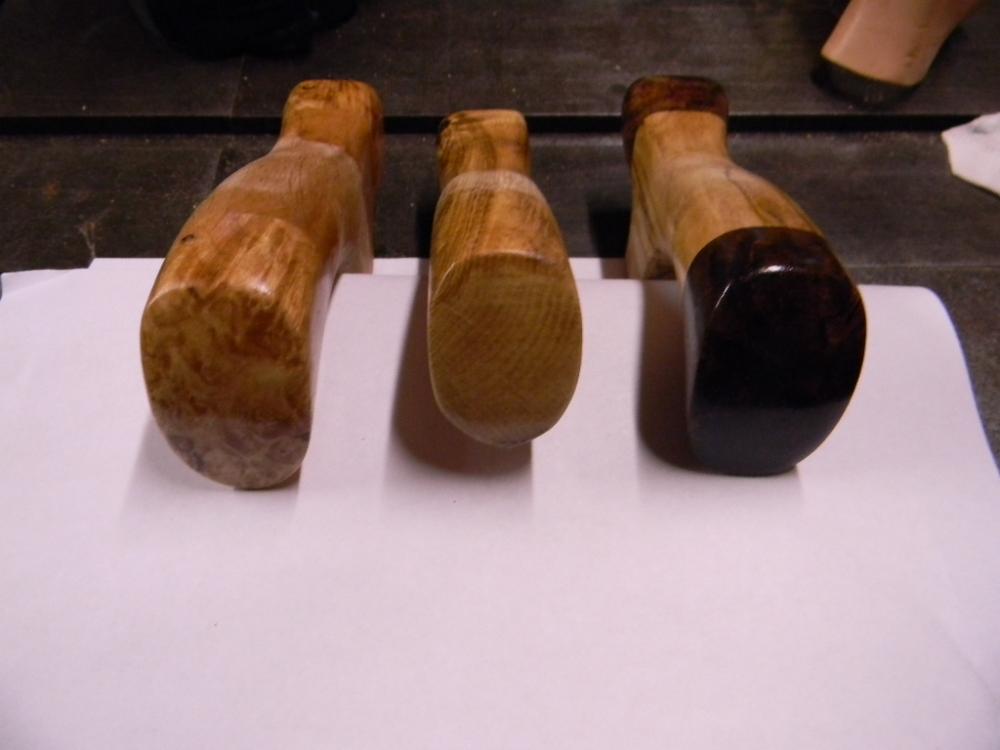
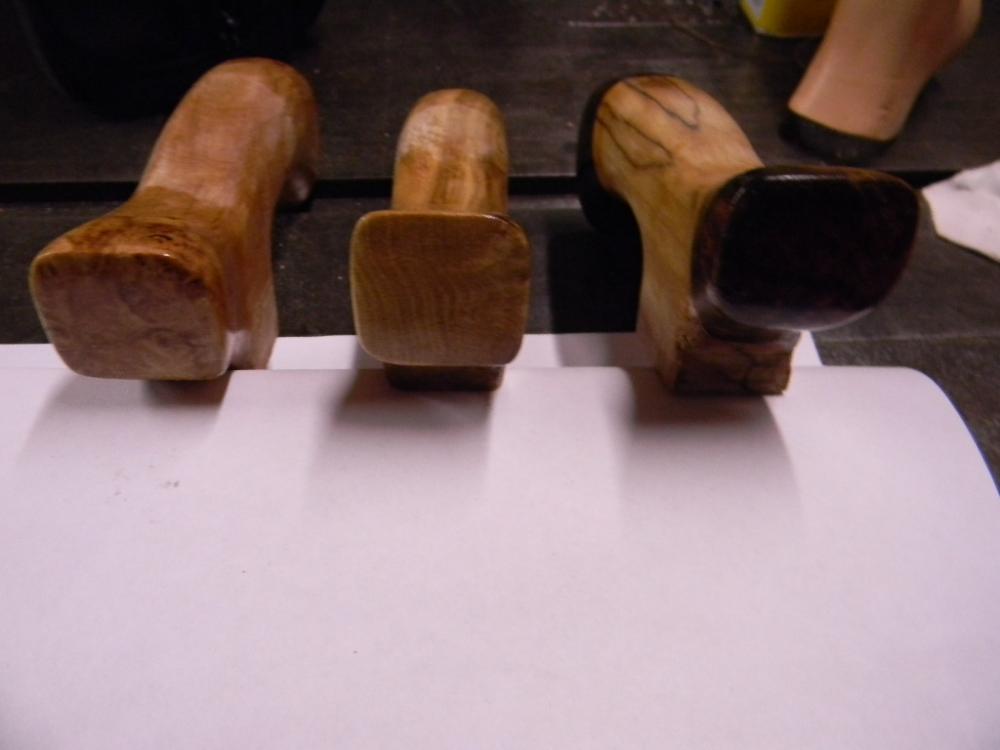
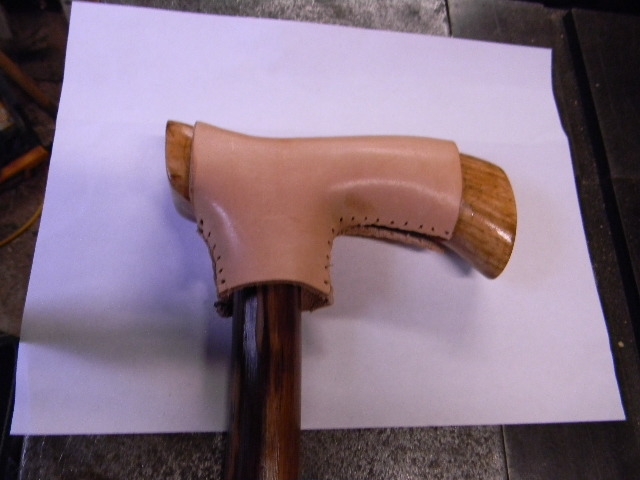
A few handle choices. Keep in mind none of these has to be the handle chosen. They're just what I thought the most natural choices were. If they don't work, I'll use them for other canes. The oak handle is a little smaller circumference than the other two. The maple is a bit longer than the others. The paper is there because my white balance isn't great. Left to right. Maple burl end caps on an alder core, white oak and claro walnut burl on a maple core. This is the one that's been fighting me. Same order. The walnut has the same sort of bird's eye end grain as the maple. It's just harder to see because it's so dark. Maple with the leather from before and the shank to give a better idea of how they look together. Oak Walnut. This 7oz leather makes for a bulkier handle. If the weight is needed for tooling I can take more wood off the larger handles. There will be more shaping done when I fit the handle to the shank anyway.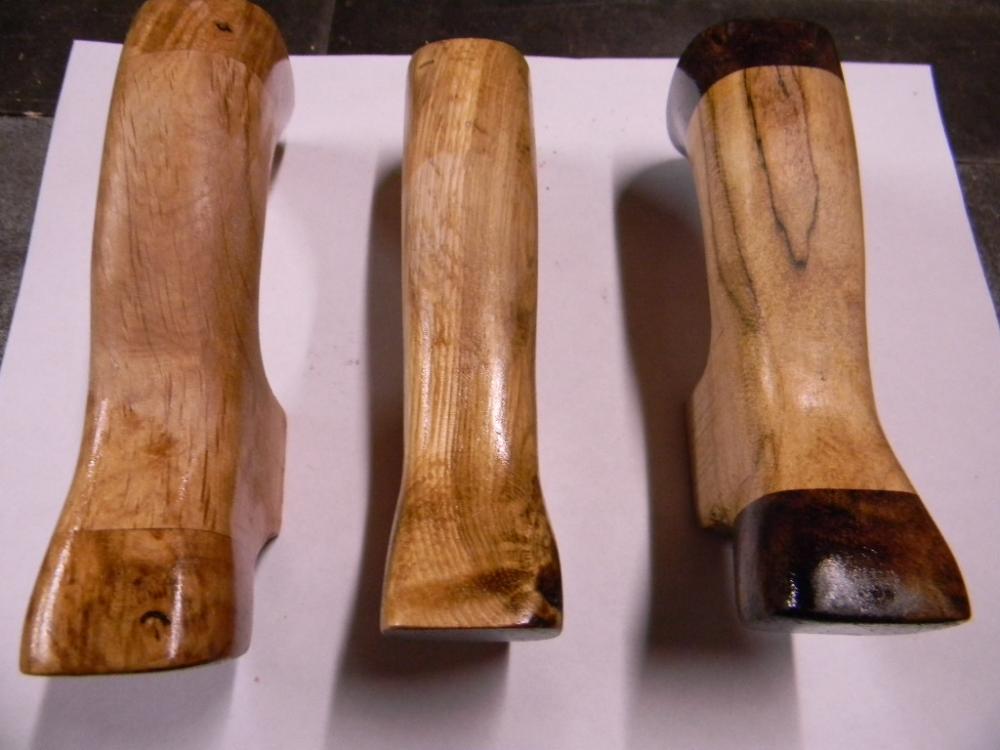


-
A Collaboration on a Cane
rodneywt1180b replied to rodneywt1180b's topic in Leatherwork Conversation
I think I've heard of grape being used. Dead wood I give a solid whack on the ground. If it breaks, it's no good. Also check if it flexes a lot if you push straight down on it. If it seems straight enough and strong enough it should make an interesting stick. Does it need a handle or is it long enough for a hiking stick? I plan to write an article about what makes a good stick (at least to me) soon for my blog. As far as the tooling goes, what does your dad like? That might give you some ideas. -
A Collaboration on a Cane
rodneywt1180b replied to rodneywt1180b's topic in Leatherwork Conversation
Thanks Riem. I find it fun and at times frustrating, you most likely will too. I'm still oiling the walnut. I even cheated and tried sealing it with a very thin coat of shellac. Maybe 3/4s of it is shiny now but one side is fighting me still. If tonight's coat of oil doesn't do it, I'll try some more shellac. I think, depending on how things go, either tomorrow or Friday I'll take some pictures of these mythical handles along with the shank and practice cover so we can keep moving forward. The cover will sort of fit and will at least help give a better idea of the colors involved. YinTx hasn't had a chance to do much but sit on his hands and wait so far. -
'stiffening' soft leather for cutting..
rodneywt1180b replied to canonitr's topic in Leatherwork Conversation
You might be getting a bow in your straightedge allowing the ends of the leather to move on your short runs -
Making a briefcase: the handle
rodneywt1180b replied to TxLeather's topic in Satchels, Luggage and Briefcases
Great looking handle! -
Tombstone, Johnny Ringo's Holster
rodneywt1180b replied to Forester's topic in Gun Holsters, Rifle Slings and Knife Sheathes
Beautiful job on the holster! Best replica I've seen. -
Bighousedaddy Columbus Ohio
rodneywt1180b replied to bermudahwin's topic in Leatherwork Conversation
It looks like the site is still up though not being updated. Maybe someone is still maintaining it and selling the patterns? Have you tried contacting them? -
I'm not sure my advice applies. Leather is an added thing for my canes and I don't make an actual living at it. If you're making a living doing something you actually love like leatherworking then great! you're already ahead of the game. Looking back. making money doing something you enjoy-no matter how tedious the routine stuff seems-is better than doing a job you despise just because the money is good. Congrats on that multiple order! I love custom orders in general. I always learn something new from them. Take making 4 identical cases by hand as the challenge it is and enjoy the process. Who knows, those briefcases might become a bread and butter item for you.
-
'stiffening' soft leather for cutting..
rodneywt1180b replied to canonitr's topic in Leatherwork Conversation
I don't think too much pressure is the problem. Are you holding the end of the straightedge down firmly or just in the middle? You might try something like a piece of packing tape on the flesh side to stiffen it up. I haven't tried it myself though. I haven't needed to. So far with a rotary cutter and holding my straight edge down tight I haven't had any trouble, including thin kidskin. With a utility knife I did get that distortion at the end of my cut. -
Yes, and it can end up costing thousands...
-
A Collaboration on a Cane
rodneywt1180b replied to rodneywt1180b's topic in Leatherwork Conversation
Thank you. I hope so. All the above is just practice so I can get the real cane right. There are probably examples out there but I don't think there are many with tooled leather features. YinTx's work is beautiful. I'm just trying to make sure my end of this project is good enough to go with his.


