chuck123wapati
-
Posts
7,441 -
Joined
-
Last visited
Content Type
Profiles
Forums
Events
Blogs
Gallery
Store
Everything posted by chuck123wapati
-
I'll use that one of these days lol
-
yum gonna try that!! thanks, I have some elk sausage in the freezer...right now i'm Corning a nice big chunk of elk for St. Pattys day.
-
man i wish we had them up here, i'm sure the ranchers and farmers dont though lol
-
Hand sewing or machine? If hand sewing this may be a place for round holes in your leather, for waxed canvas or heavy denim i would just use a harness needle.
-
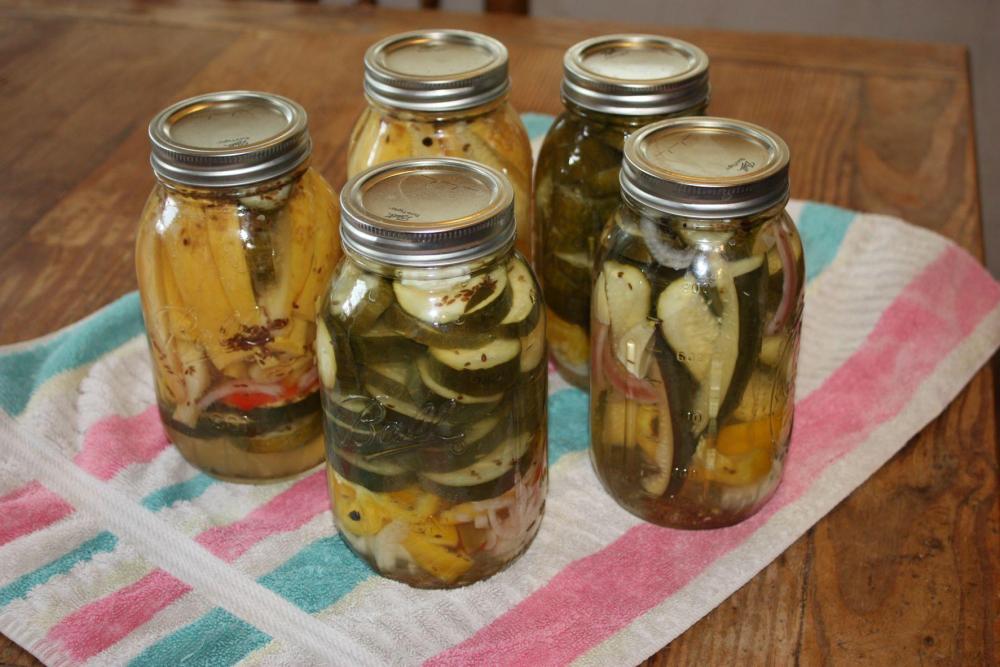
Real food comes in a jar without labels... My wifes passion is canning. Sweet and sour ,mildly spicey.
-
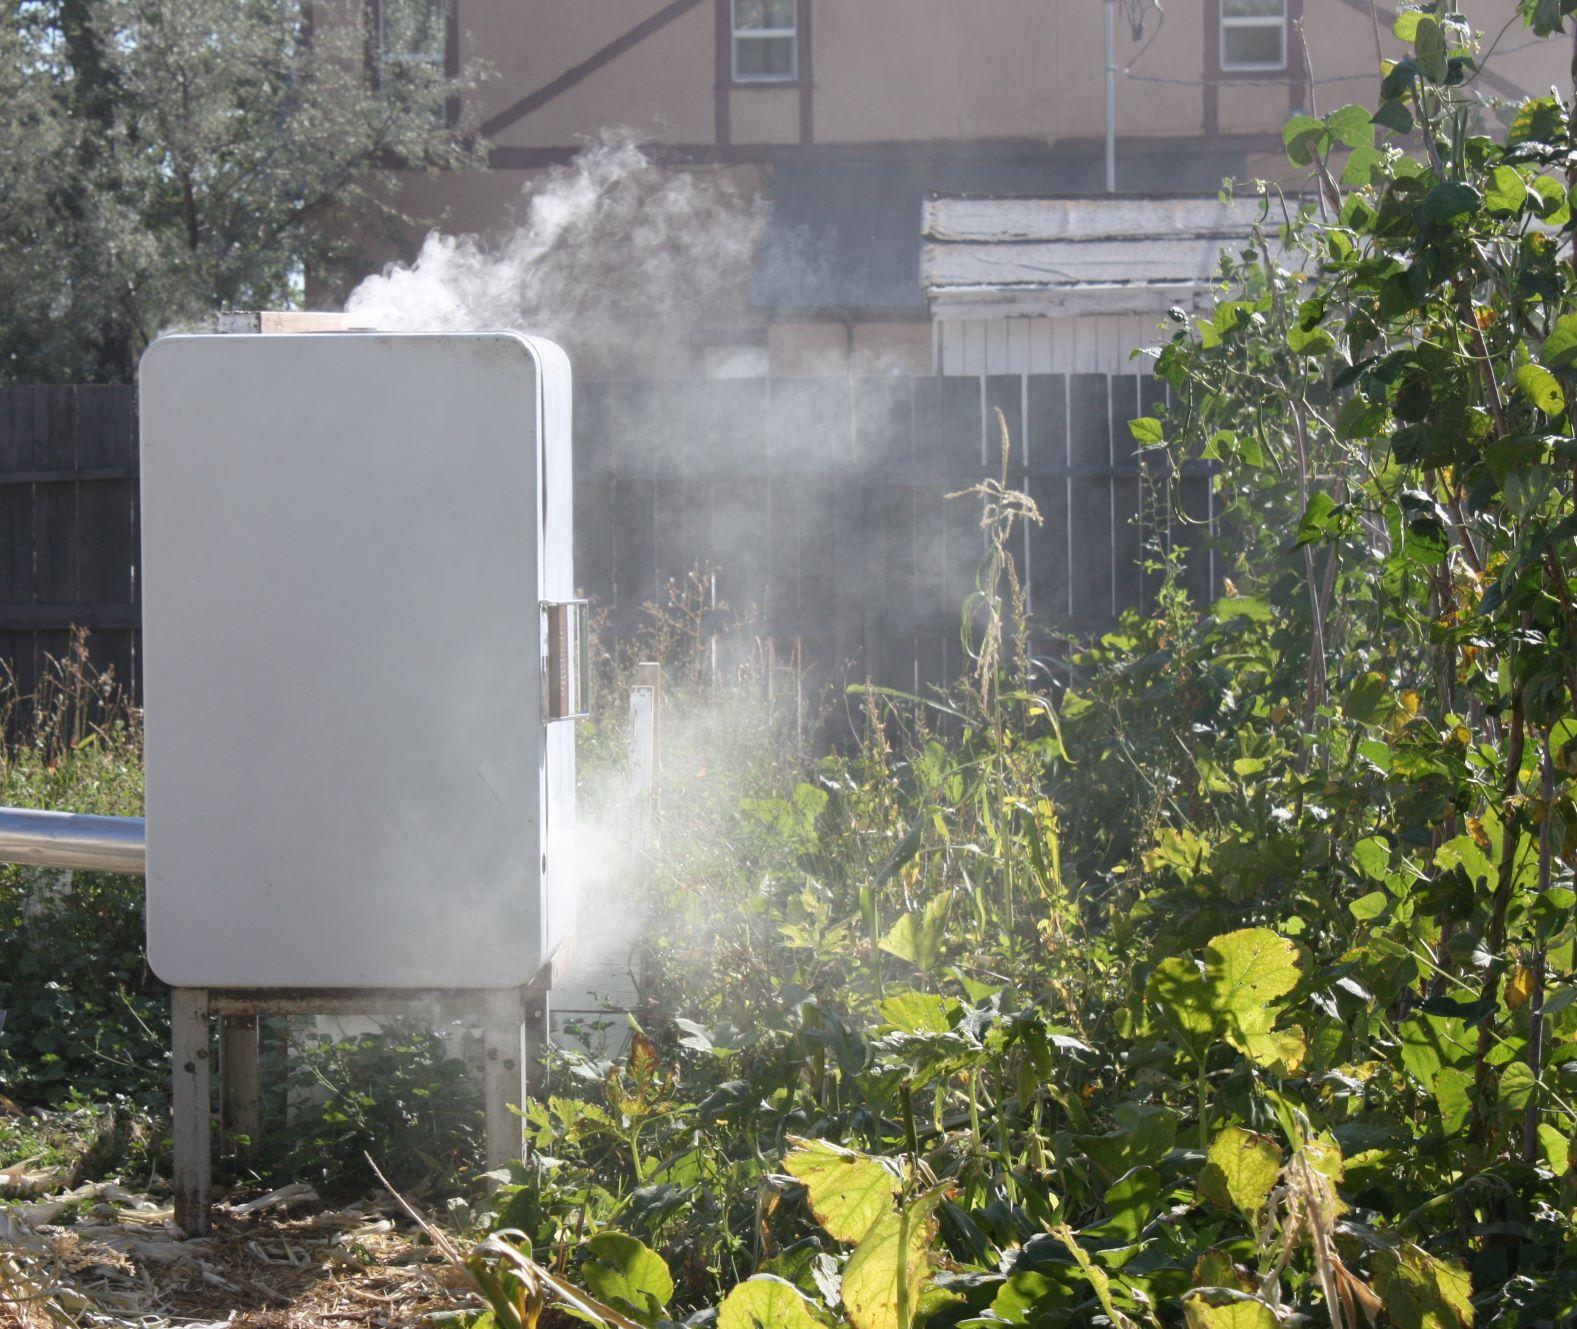
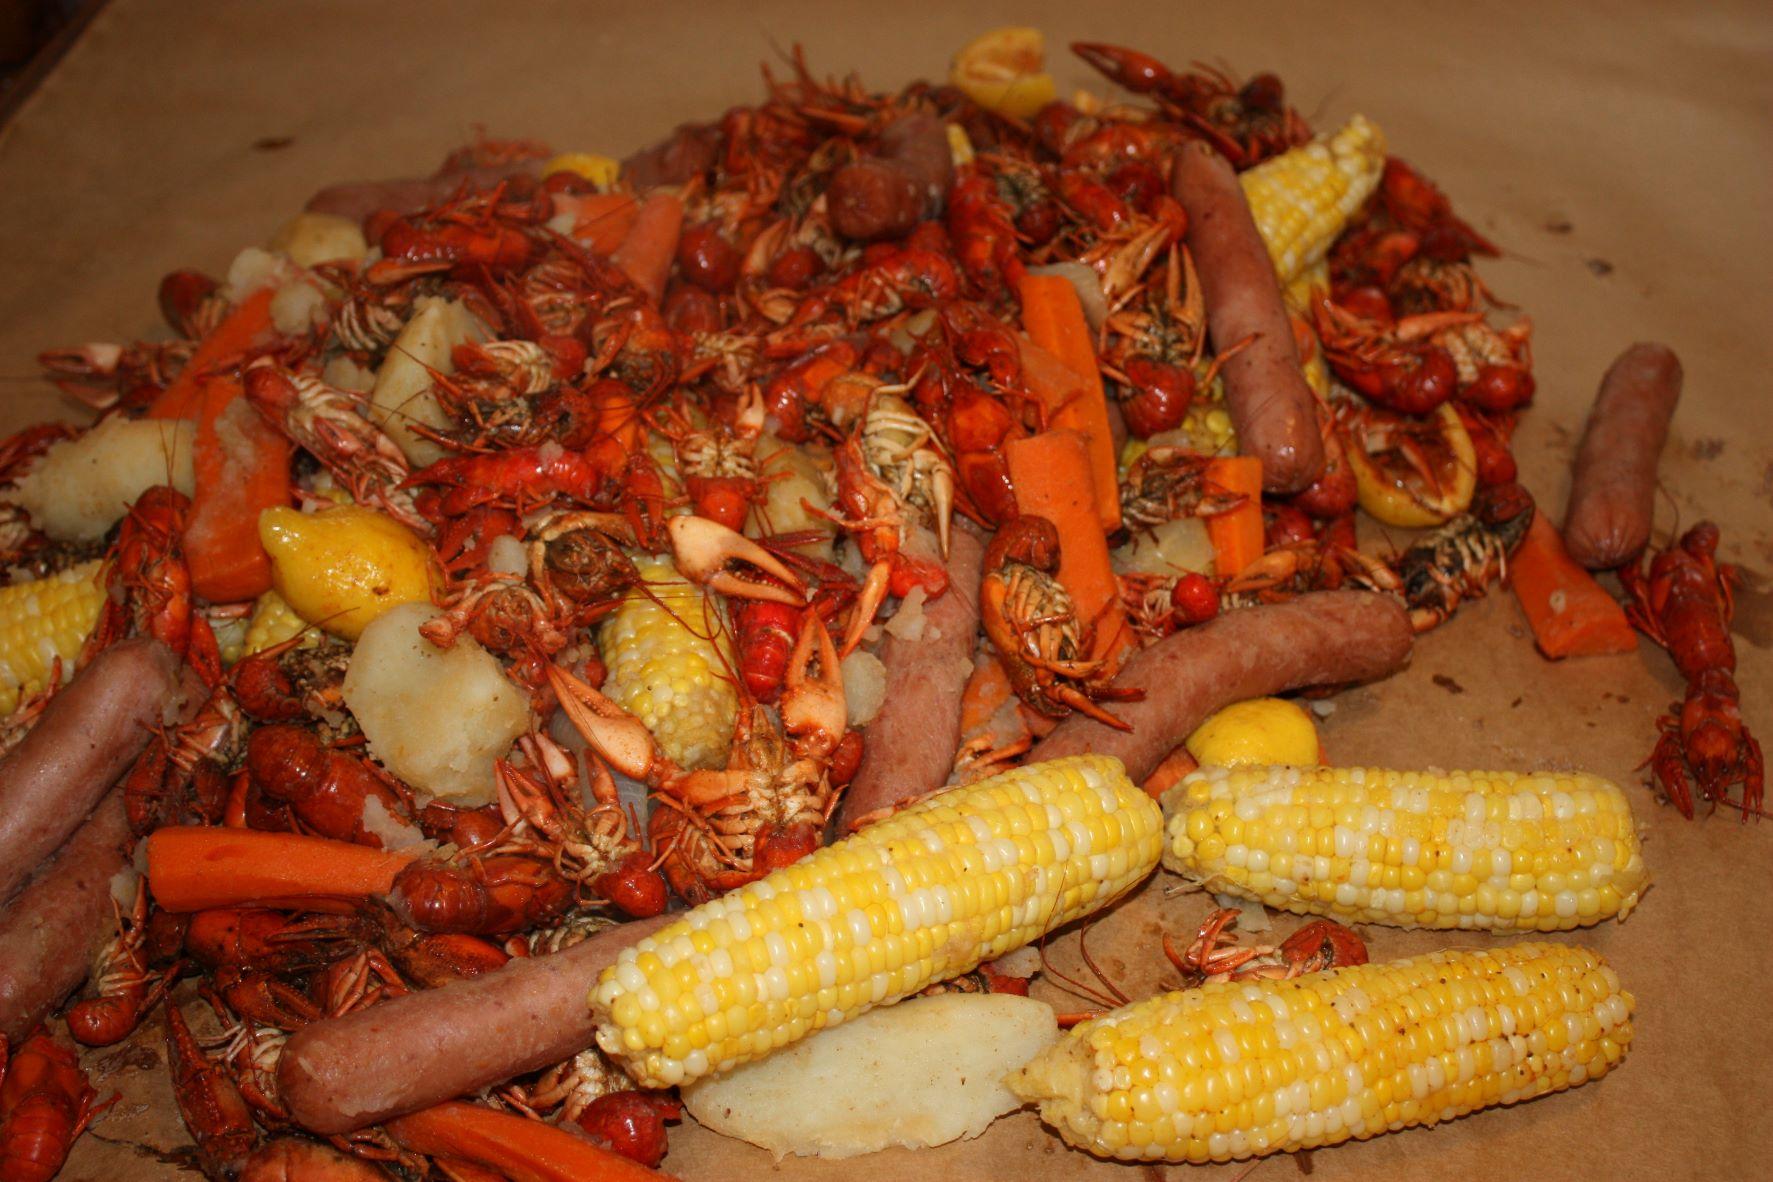
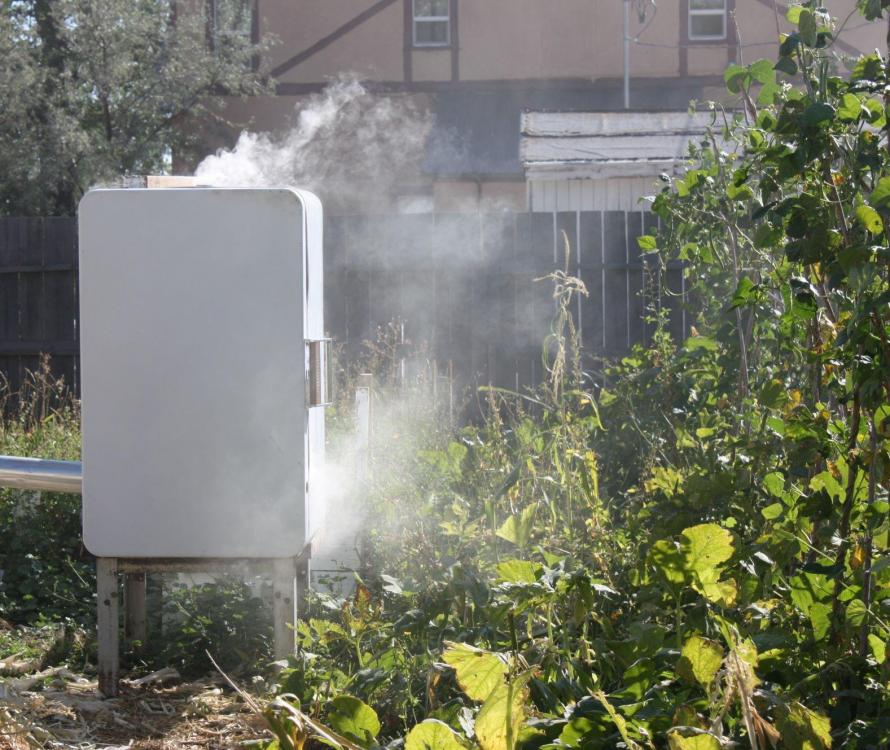
Oh heck yea and the aroma cooking over a open fire makes it even better.
-
yea well Now i gotta make some bacon steaks thanks to you. heres where you go to get bacon steaks LOL. And heck no i have more hair than that lol.
-
Oh heck yea!!! On a fresh baked sourdough bun!!!! Man I'll bet if you got a bit of that on your forehead you tongue would beat your brains out trying to lick it off. These are good at any altitude lol.

-
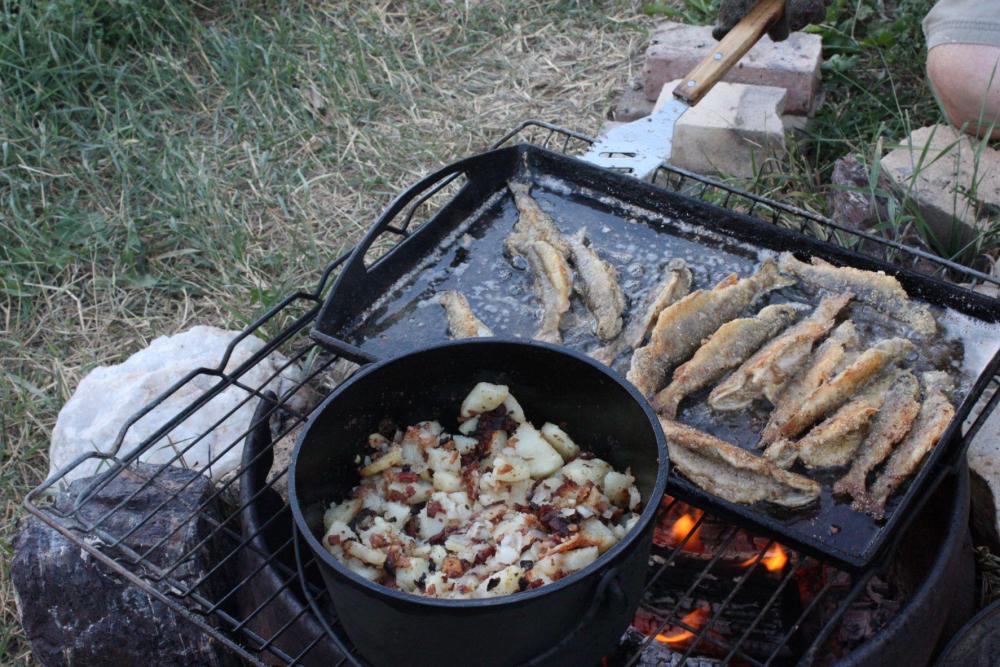
So then you would enjoy my cooking? Fresh Brook trout with fried potatoes and wild onions at 8,000 Ft.
-
A Leather and heavy textiles seamstress. specializing in Leather and canvas repair, fabrication and design.
-
it would seem so but no actually working for 30 years in a prison did that. here's a smiley face for ya friend LOL even though you wanted to line me and shoot me one time. Sure pissed you off that day i'll admit lol. Getting away from people and enjoying the fruits of the earth, smelling fresh mountain air and drinking fresh spring water probably helped a bit IMO at least it kept me semi sane. ever do anything like that? Have you ever listened to the sunrise out in the woods? at the crack of dawn every living thing goes quiet for a few minutes all you can hear is pure quietness, your senses come alive and you can smell the dew, the plants the dirt, feel the brisk morning air. Then just like magic the birds ,elk, cattle, even the fish start jumping again and seem to come back to life. Its an amazing thing friend.
-

Glasses case
chuck123wapati replied to Spyros's topic in Purses, Wallets, Belts and Miscellaneous Pocket Items
i like that! i was thinking wood, didn't even think about a leather piece for some reason. Anyway its an awesome case!! -
Glasses case
chuck123wapati replied to Spyros's topic in Purses, Wallets, Belts and Miscellaneous Pocket Items
excellent !!!! does it have a nose piece thingy in side? -
I feel blessed to live where i do. I have spent most of my life eating wild meats, game birds and fish, veggies from my garden and some really awesome foraged plants , berries and such. We make most of our food daily. One of my favorites is a French dip sandwich made with Elk roast, fresh bread & au jus. With a nice glass of home made Service berry or Chokecherry wine. As soon a spring rolls around our shopping starts with a garden, foraging and fishing to get the freezer filled up again. Something i find amazing in the US is the "health food" market read the labels on some of that crap once in a while, all the same chemicals, bad oils and sugar as regular crap food we get.
-
Stitching Holes... with a drill??
chuck123wapati replied to MtlBiker's topic in Leatherwork Conversation
i used to do it this way and it works great too, I used small brass 1" brads to line up the holes before gluing about every inch or so along the stitch line. -
" I boycotted eating garbage years ago. " I've had my share too. All it will do is make them eat good food but i guess your right its the thought that counts.
-
so this Scotsman really ties one on and on the way home passes out next to the road. pretty soon a couple Irish girls come along find him and get curious about what's under his kilt take a peek and for fun they decide to tie a little blue ribbon on it. Next morn he wakes up and when he goes to take a leak sees the ribbon. " Oy don't remember where you've been last night he exclaims but you won first place.
-
Stitching Holes... with a drill??
chuck123wapati replied to MtlBiker's topic in Leatherwork Conversation
good idea! a guy could use it to set rivets, hole punches for belts and maybe a makers mark or some such stamp also. -
Stitching Holes... with a drill??
chuck123wapati replied to MtlBiker's topic in Leatherwork Conversation
you can make a hole any way you want. The question, will the hole you make fit your design, look good or be unnoticed. Personally i think it would be to time consuming, ive made a few cribbage boards lol plus i dont like the look. I sew three layers of 10 most of the time if your awl is truly sharp it will go thru like butter if it doesn't its not sharp yet. -
wow I'll make one before i buy one and i have to fix someone elses mess..
-
if it were mine i would use it to hold something tight against something round like a pipe so i could weld it up, solder or braze it.
-
we have ones like that but much bigger out here in the west. They are for carrying post holes while building fences.
-
its a question puller. works good too.
-
Hand grips for my bike. Step by step.
chuck123wapati replied to pzarkov's topic in Motorcycles and Biker Gear
BADASS!!! tell us how you did that texture please. -
"when I was a young man my neighbor lost his testicles because of a loose apron." What???? Was there a hole in his wifes apron pocket sounds like the beginning of a Rodney Dangerfield joke lol.