.jpg.e13e7809a690335a89b8a4ed2e876db1.jpg)
Northmount
-
Posts
6,539 -
Joined
-
Last visited
Content Type
Profiles
Forums
Events
Blogs
Gallery
Store
Everything posted by Northmount
-
.thumb.jpg.6e903dd66163ad5672f00f144058c571.jpg)
Barry King edgers, Vergez Blanchard No 10, French style awl
Northmount replied to jayker2002's topic in Old/Sold
@jayker2002 Moved back to Marketplace, only the Basic Set was sold. Tom -
Per the OP, only the Basic Set is sold, the rest is still for sale. Moved back to Marketplace. Tom
-
Are you going to remove the current finish or trying to dye over the finish? I would suggest removing as much of the finish as you can first. Some people will dye with blue before they go to black. And yes, dilute resolene 50/50. Tom
-
Barry King edgers, Vergez Blanchard No 10, French style awl
Northmount replied to jayker2002's topic in Old/Sold
So was it sold or not? You posted it was sold, so I locked and moved it to the section old/sold. If it is still available, not sold, I can move it back. Tom -
Happy Birthday @Johanna from all of us from all around the world. Have a great day, and many, many more. Tom
-
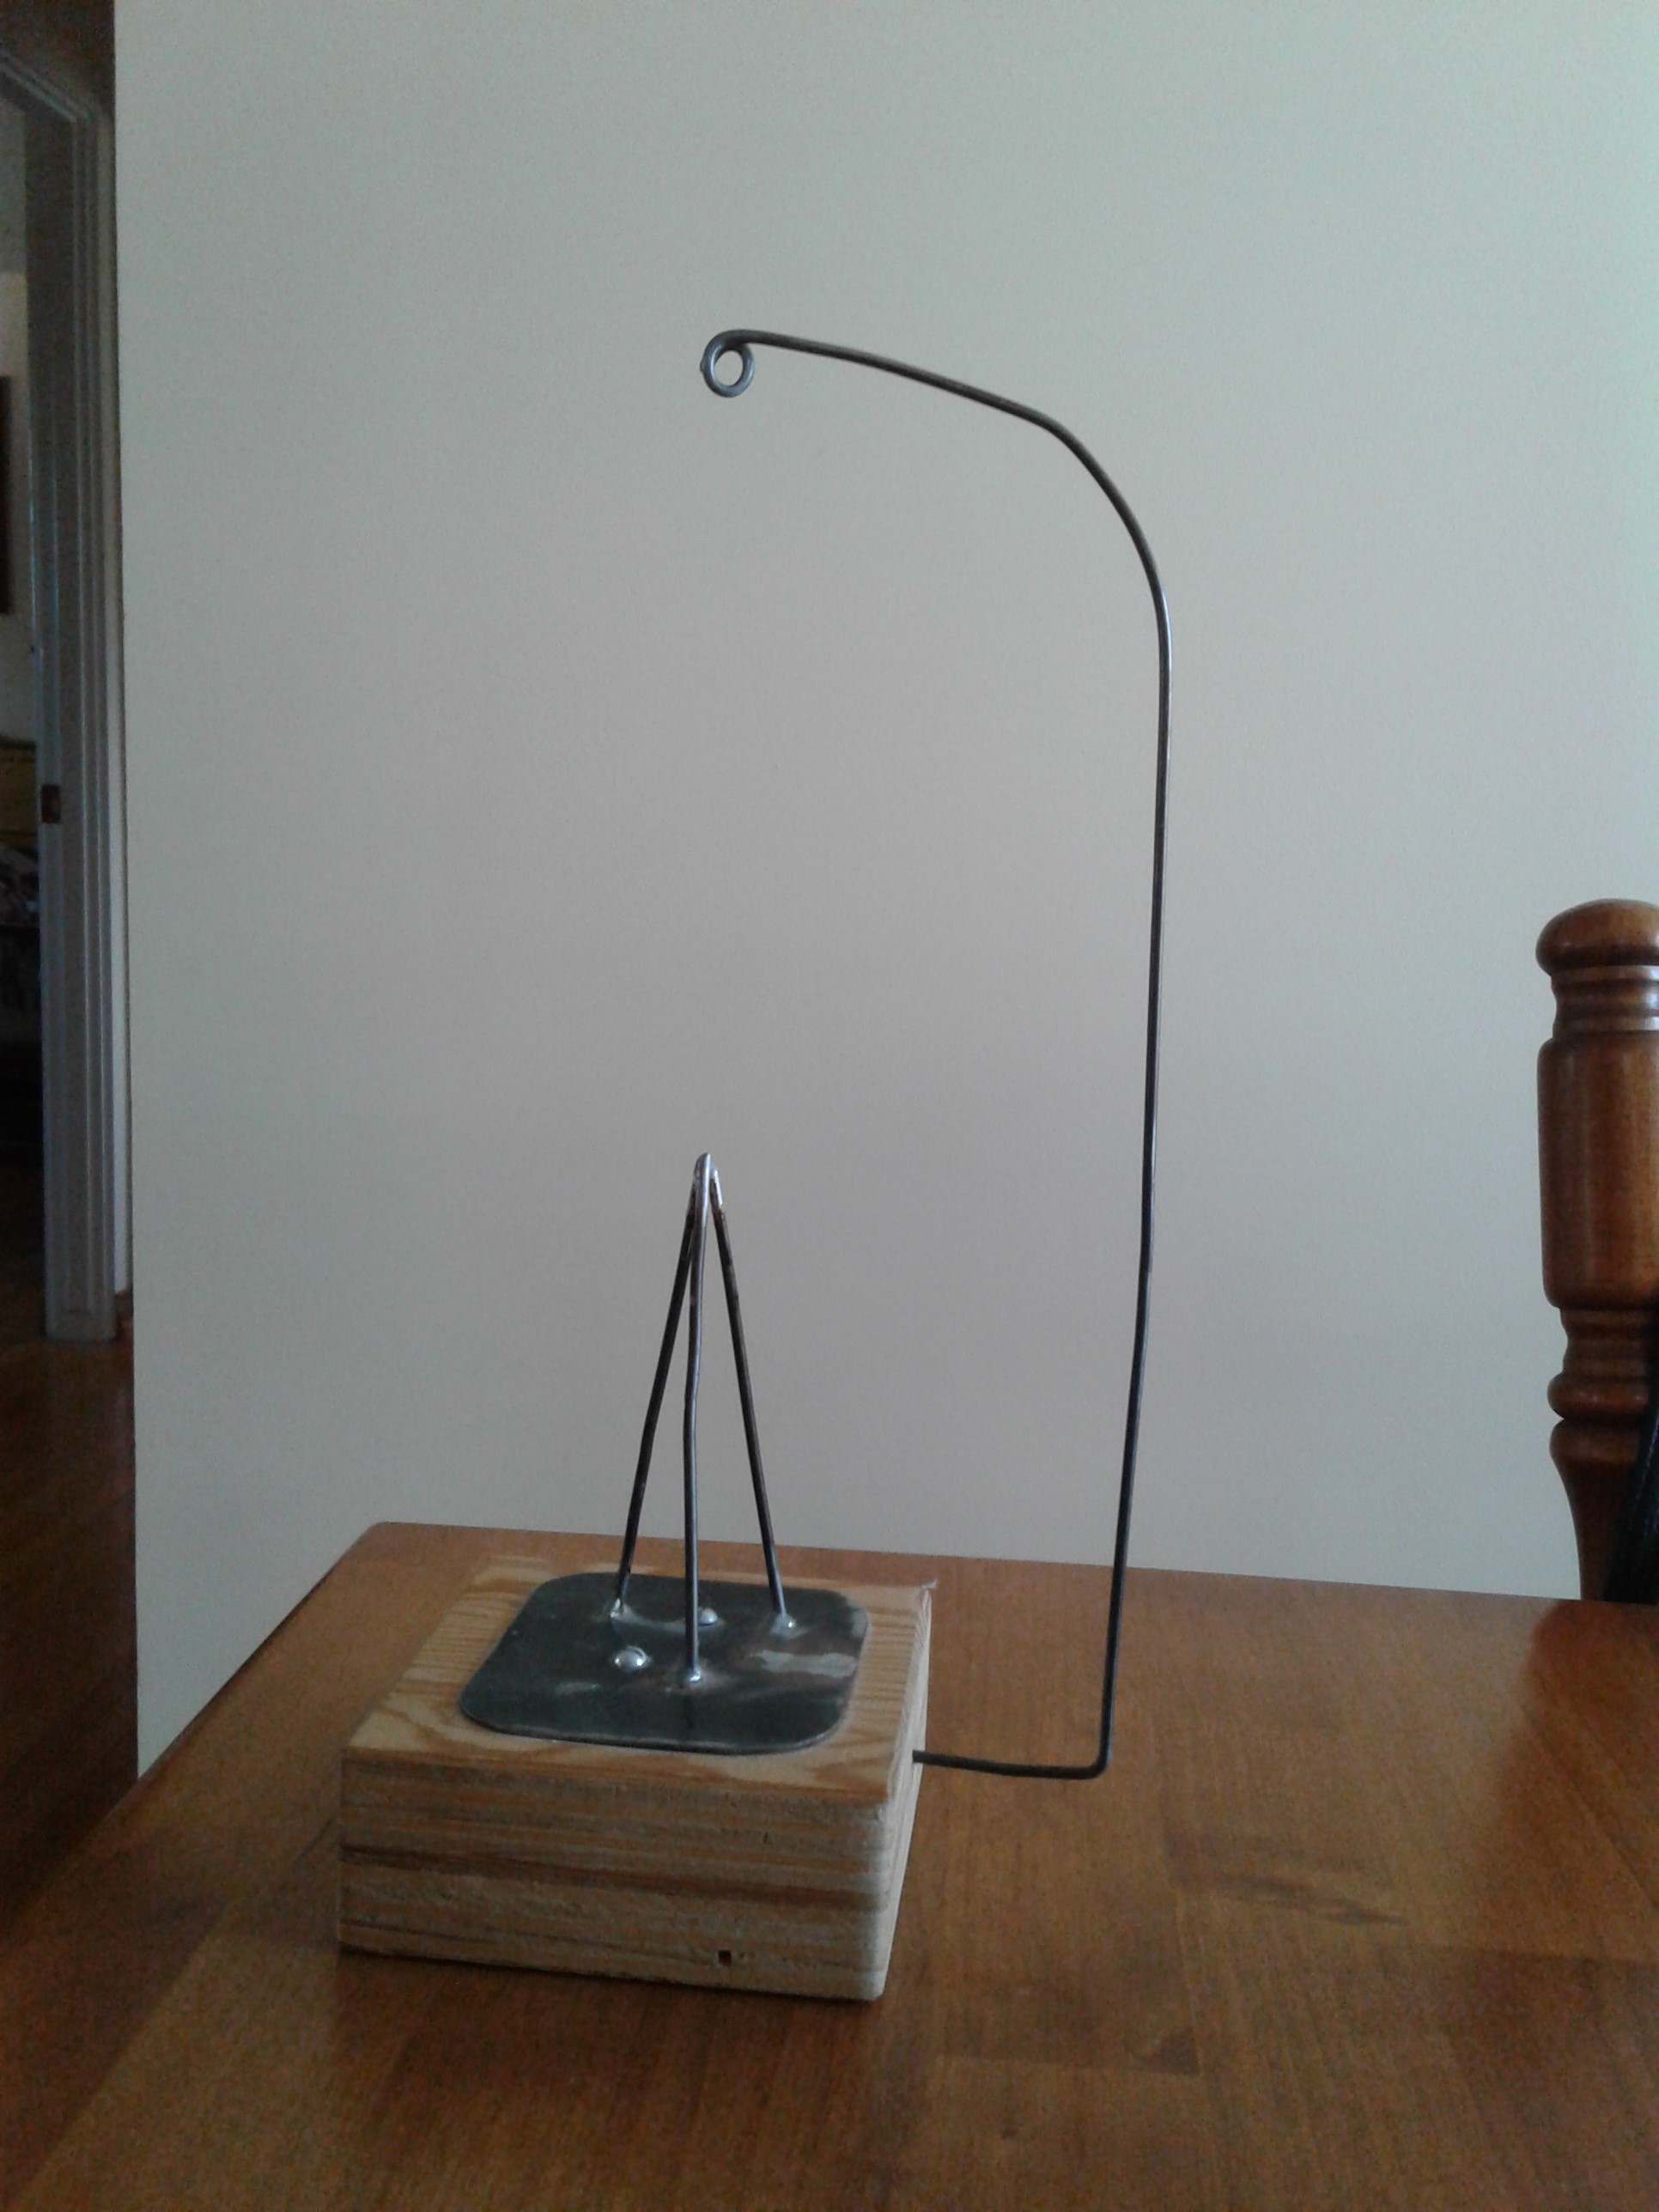
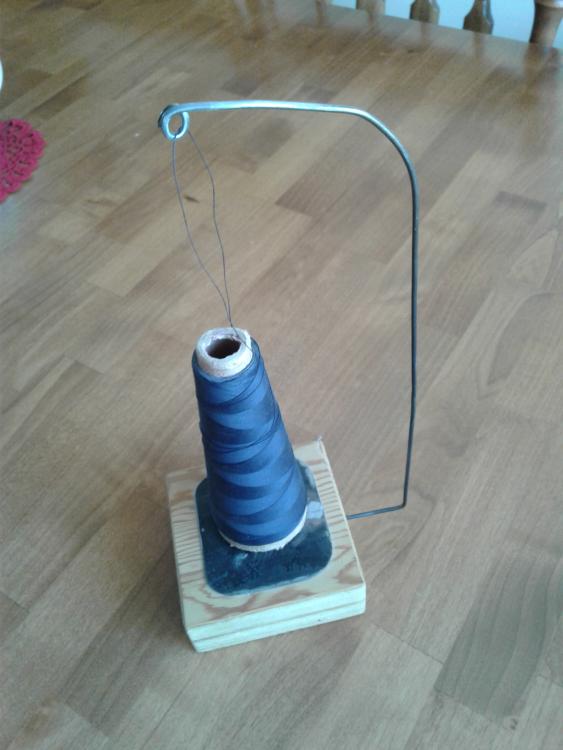
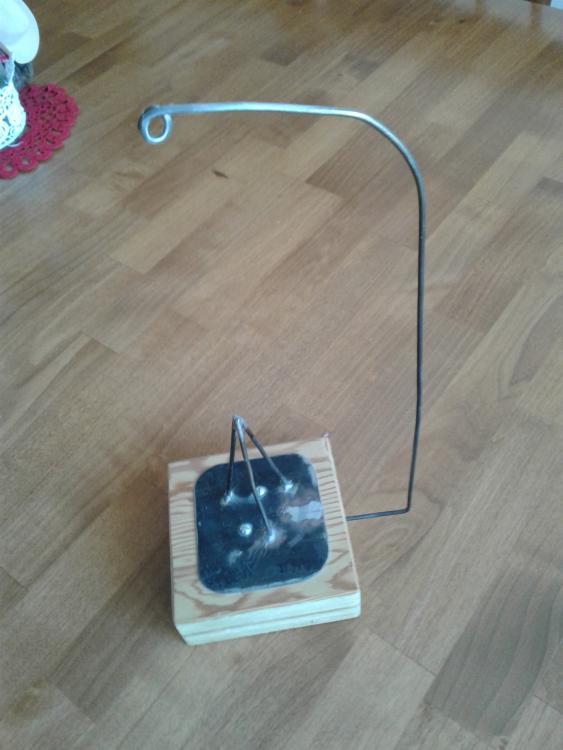
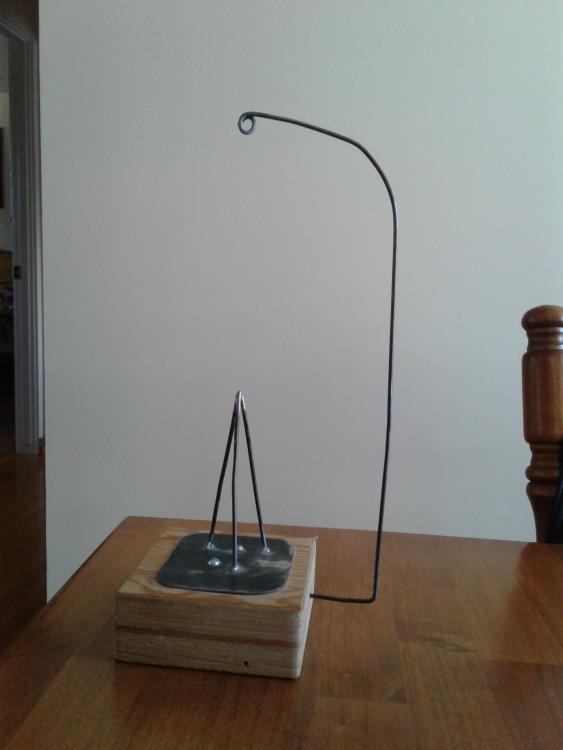
Did this for my wife back in 1969. Still gets used. Block of plywood and some coat hanger wire. Instead of soldering the wire the plate, jsut drill some holes in the wood and drive the wire in. If a tight fit, no glue required. Tom
-
I have been cutting 6" circles with a 1 ton arbor press. It is clamped to the bench, and added a piece of 3/4" pipe to the handle for the harder, thicker leathers. So I would say you should be able to do well for your pieces with a 3 ton arbor press. Then you shouldn't need to add the snipe for more leverage. Tom
-
Starting new project. Advice Kickstarter?
Northmount replied to LeatherNewbie76's topic in Marketing and Advertising
It probably depends a lot on where you are located and what your local market is like. From your IP address, it appears you are located in/near Germanton, North Carolina. Perhaps you could add your location to your profile plus a little more information about you so others can give advice relative to your area. Tom -
Moved to How do I do that Tom
-
OP is located in or near Toronto, ON according to his IP address. Tom
-
Moved as requested. Tom
-
If you moisten the leather a little, it will help reduce the amount of dye that wicks beyond your brush. And of course, as above, don't load the brush heavily with dye. Touch the brush to the leather a little way away from the edge of the portion you are dying, and work slowly towards the edge. Do a little practice on some scrap to get a feel for it. Don't saturate the leather with water, or with dye. Tom
-
I should try that!
-
Suggestions for slowing down machine
Northmount replied to rockthecasbah121's topic in Leather Sewing Machines
Add a set of speed reducing pulleys. You will have great torque and very slow speed if you size them right. Can purchase a set, or build your own depending on your abilities and time. There are lots of posts about using speed reducers here if you care to search for them. Tom -
Do I really have to sing? You wouldn't like my croaky voice! Tom
-
Looks great. I'll follow along here and probably try it out too in the near future. Tom
-
Which leather burnishing machine to buy?
Northmount replied to rivetandchain's topic in Leather Tools
Check out your local Canadian Tire store for a bench mounted drill press and sanding drums. You can also look at BusyBee for same. BusyBee probably has more sanding drums. Another place to check out for sanding drums is Lee Valley. https://www.busybeetools.com/ http://www.canadiantire.ca/en.html http://www.leevalley.com/en/home/Search.aspx?action=n Tom -
keychain Keychains for Dragoncon
Northmount replied to 3DReefer's topic in Purses, Wallets, Belts and Miscellaneous Pocket Items
@3DReefer If you reduce the file size, you can post lots of photos! 800 x 600 pixels is adequate for most photos on the web. 3rd party hosted photos often disappear due to changes in the host's policies, photos being deleted or moved, etc. Then the thread/post become useless. Tom -
Gabbing clutch may be due to not having enough grease on the cork. There are other posts/threads here if you care to search for them. Then you can find out what grease to use as my memory isn't quite that good. Tom
-
Too light a pressure will result in the leather lifting the foot as the needle rises, and skipping stitches. I see at least one skipped stitch in the photo. Tom
-
Can anyone identify this dual needle clamp?
Northmount replied to JJN's topic in Leather Sewing Machines
Works on a zigzag machine, set for no zigzag (straight). 2 spools on the top, single bobbin. Both threads fed through the tension disks together. My wife uses this for hemming tee-shirts. There are off the shelf twin needles for domestic machines. Tom -
Make sure the blades are not touching the steel roller. Have had blades on pipe cutter do that when turned down against the roller by kids that didn't know what they were doing. Tom
-
Impressive for your first tooling. Hadn't thought of tooling a dragon fly. One of my wife's favorite insects. Of course there are many she doesn't like.
-
I use a techsew 2700. Has been great for me. I'm moving this to sewing machines. Tom
-
Moved your post to Sewing Machines. Perhaps you would like to edit your profile and let people know where you are located so they can point you to a source near you instead of on the other side of the globe. Tom