LatigoAmigo
-
Posts
1,012 -
Joined
-
Last visited
Content Type
Profiles
Forums
Events
Blogs
Gallery
Store
Everything posted by LatigoAmigo
-
EMB010... I sure hope you don't mind, but I've extracted the images from your PDF and posted them here. So many of us are visually oriented...


-
Big question, because most leather is made in a tannery using machines. So, if the leather itself is not "handmade" does that mean, no matter what process is used to make items from that leather, that they cannot be considered handmade? Just a thought.
-
dye the deeper areas but not the surface?
LatigoAmigo replied to Starman's topic in How Do I Do That?
Leather dyes are liquid, but Fiebing's Antique Finish is not a dye, but is a paste. You would typically dip a soft rag into the jar, and rub the paste into the leather like you might apply car polish. It is not applied like a dye. I'm sure you could find something on YouTube that demonstrates the application process. -
dye the deeper areas but not the surface?
LatigoAmigo replied to Starman's topic in How Do I Do That?
Possibly by using something like Fiebings Antique Finish. This paste settles into the tooled areas, making them darker than the flat surface area which is wiped off during the application process. -
dye the deeper areas but not the surface?
LatigoAmigo replied to Starman's topic in How Do I Do That?
If you really want help, you will have to post a larger and photo (maybe more than one) so some of us can better understand your question. -
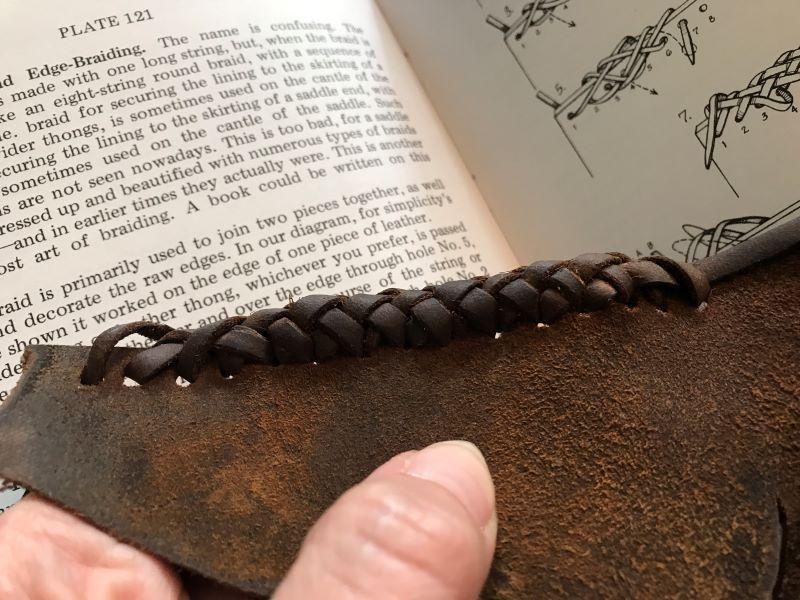
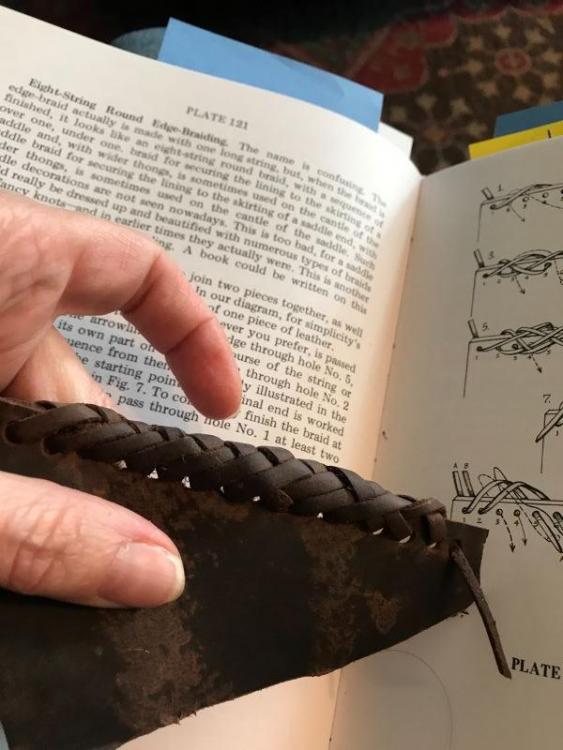
That is the rhythm that you want. Kinda like "four steps forward, three steps backward." Some hole will almost always show because the beginning and the end of the braid will not fill the holes in the same way as the rest of the braid. You might try using slits instead of holes. Lookin' good. You will find that there will usually be some variant in the finished look because of the nature of leather, i.e., thinner, thicker, softer, firmer. You might find that at the end of a long run of lace, the thong has gotten thinner as a result of being pulled through the many lacing holes. I have had the best luck using kangaroo as it is thin and firm, although 'roo can be pretty pricey. I hope you don't mind, but here I've posted your photos, as links are sometimes lost over time.
-
It would depend somewhat on the thickness of the strand you are using, i.e., if the lace is on the thin side, then you might want a smaller hole. That is from the near edge of the lacing hole to the near edge of the leather. Again, this depends on the thickness of the strands, if the strands are beveled, and if you want to see the lacing holes or not. The strand will be going through the lacing hole twice, so you might want to start with a hole the same size as the width of the strand, or just slightly smaller. You might try a test piece first, try some variations and see which one you like best. Keep in mind that the hole is going to stretch out a little. This will also give you a little practice with the braid. A beautiful braiding pattern... be sure to post the results!
-
I use a variety of oil tanned leathers, but don't use Resolene. Do you think that it might take away from the suppleness of the oil tanned leather? That is one of its best features.
-
Info on lace making and braiding from start to finish
LatigoAmigo replied to DirtBagRobot's topic in Braiding
That's not too far off... you might try braiding soap as it "serves as a lubricant so that when you pull a strand tight, it slides over and under the other strands and pulls tight clear up into what you’ve already braided." I found this recipe on a whip maker's website years ago. Bon appetit! Easy Braiding Soap Recipe.pdf -
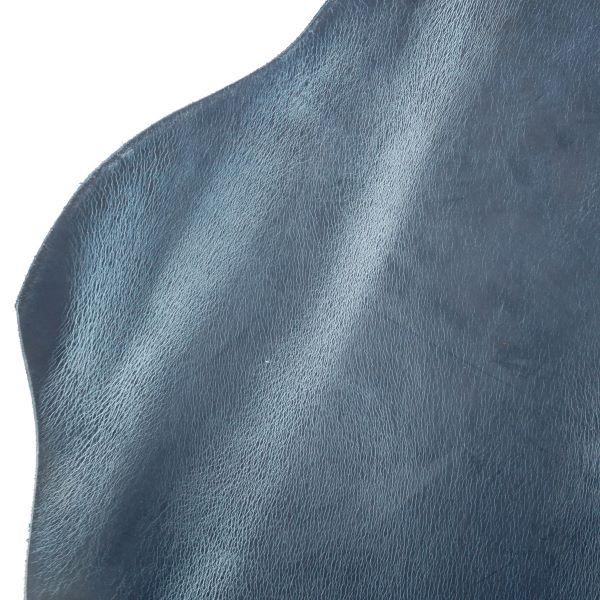
That is some beautiful leather. Let's let everyone see in case the link goes bad.


-
The link conntects to these images:

-
Info on lace making and braiding from start to finish
LatigoAmigo replied to DirtBagRobot's topic in Braiding
It is not a "project book" with directions on how to make belts, but demonstrates many, many types of braiding, some of which lend themselves to making a belt. It does show how to make lace and has photos of many woven belts. Much of the focus of this 500-page book is cowboy horse gear from around the world, however, and spends quite a bit of time on rawhide braiding. It features some beautiful knots and handles, and includes whips and hatbands. It aided me very well when I started leather work 50 years ago, and continues to provide a source of inspiration. You might be able to find it used or in paperback, which would reduce the price, or even find it available for free in a public or college library. -
Info on lace making and braiding from start to finish
LatigoAmigo replied to DirtBagRobot's topic in Braiding
Then you will love this book: https://www.amazon.com/Encyclopedia-Rawhide-Leather-Braiding-Bruce/dp/0870331612/ref=sr_1_1?crid=2T0N7YOKXVUU3&keywords=bruce+grant+encyclopedia+of+rawhide+and+leather+braiding&qid=1570059673&s=gateway&sprefix=bruce+grant+%2Caps%2C215&sr=8-1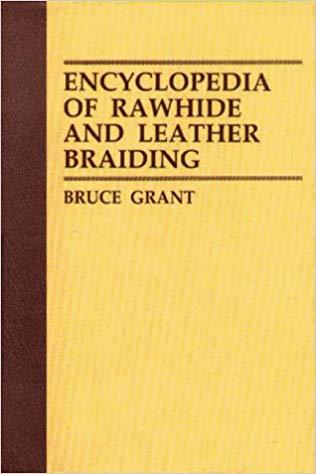
-
I have some that I purchased from Maverick years ago, but I don't see it on their website. Your best bet is to give them a call. My piece came from their scrap bin.
-
Ya think if I busted up my leg I could make something as beautiful? Very nice work!
-
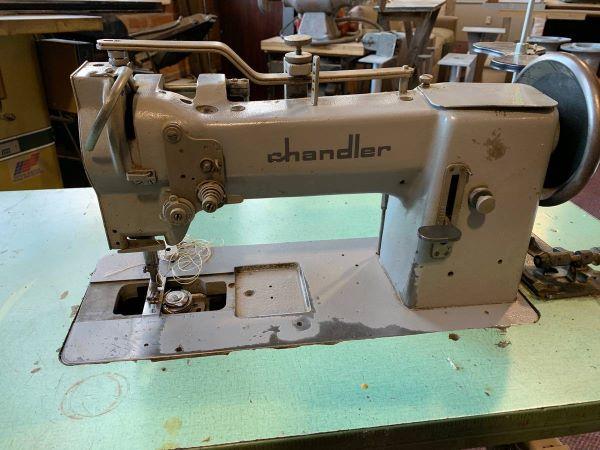
Press for Rivets and Snaps - So Confused!
LatigoAmigo replied to NewfoundlandLaw's topic in Leather Tools
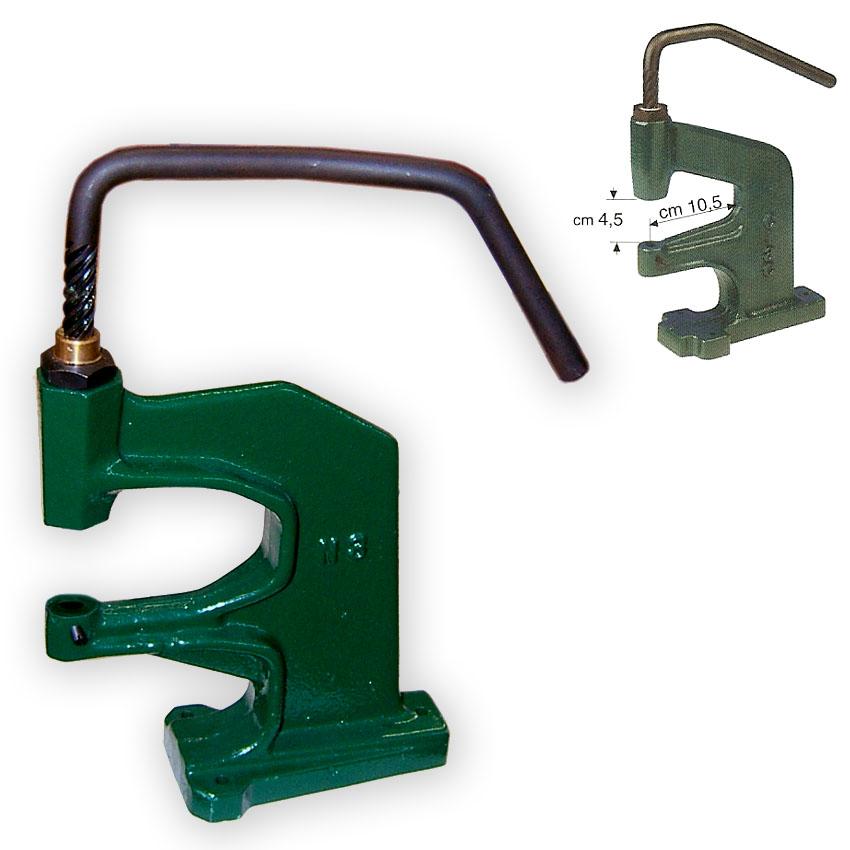
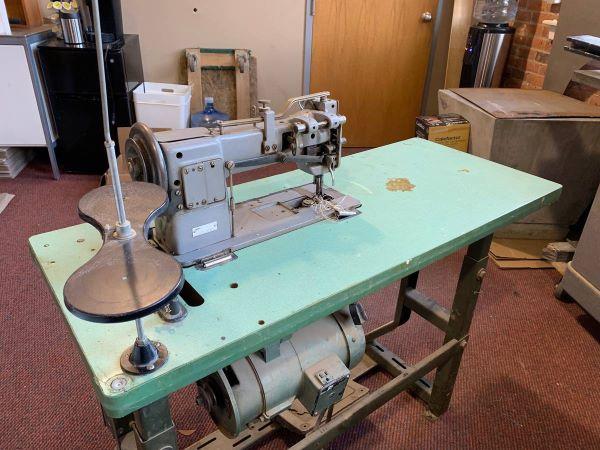
I sure hope you don't mind, but sometimes links get "unlinked", and then no one can see what you're sharing, so here is the image for all to see...
-
Computer Drawing Software For Making Leather Patterns
LatigoAmigo replied to Blackey Cole's topic in Computer Help
Most people probably don't carry, but the real concern is... are those (good guys) carrying guns ready to shoot someone (bad guys) when the time comes? Shooting and/or killing someone is a pretty heavy burden to bear. Certainly a "blink of the eye" moment one won't soon forget, no matter what the circumstances (this is from someone who has had guns drawn on him more than once. Luckily, the "bad guys" chose not to pull the trigger). -
Press for Rivets and Snaps - So Confused!
LatigoAmigo replied to NewfoundlandLaw's topic in Leather Tools
You are correct about "universal size" as there isn't one. I purchased my dies from Ohio Travel Bag, and use Buckleguy snaps and rivets. -
Press for Rivets and Snaps - So Confused!
LatigoAmigo replied to NewfoundlandLaw's topic in Leather Tools
I can only speak for myself, but I found this press at Campbell Randall, and it changed my world. I use it for setting snaps and rivets, but not for punching any holes. http://www.campbell-randall.com/product/italian-twist-press-no-3
-
Computer Drawing Software For Making Leather Patterns
LatigoAmigo replied to Blackey Cole's topic in Computer Help
How about just doing the dishes every day? Maybe throw in some shopping? Help make the bed, and keep the house picked up? We guys learn over time that there are many things that will help keep a relationship together. Boy, have we gone off topic here... -
Computer Drawing Software For Making Leather Patterns
LatigoAmigo replied to Blackey Cole's topic in Computer Help
We are talking about actual size, but when working with scanned images, things might get confusing. Images can be scanned in various resolutions, and when viewed the image can be hard to measure. Knowledge of the operating software can help manage that issue, with the end product being the exact size of the original scanned object. -
Computer Drawing Software For Making Leather Patterns
LatigoAmigo replied to Blackey Cole's topic in Computer Help
Like I mentioned earlier, throw a black cloth over the object being scanned. Hold it in place through the cloth so the body of the gun is level with the scanner glass. Then scan it. If the image is a little off, scan it again. This is not rocket science, but a little trial and error is required. People do this all the time, and I think that is why people are surprised at your question, because you seem like such a very capable person, albeit "old school." Programs like Adobe Photoshop and Illustrator allow the user to convert that scanned image into a line drawing in minutes. The big headache for many will be the cost and learning curve of the software, which is steep. I hope I 'splained it good enough. -
Computer Drawing Software For Making Leather Patterns
LatigoAmigo replied to Blackey Cole's topic in Computer Help
You might try layin' the gun on the scanner glass, then place a black cloth over the glass to block out light. Press scan, and you should have what you're lookin' for. -
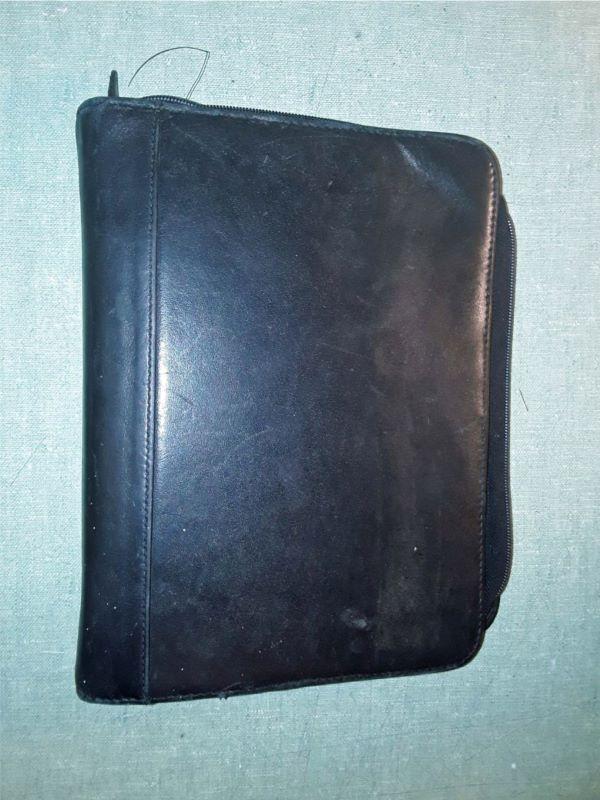
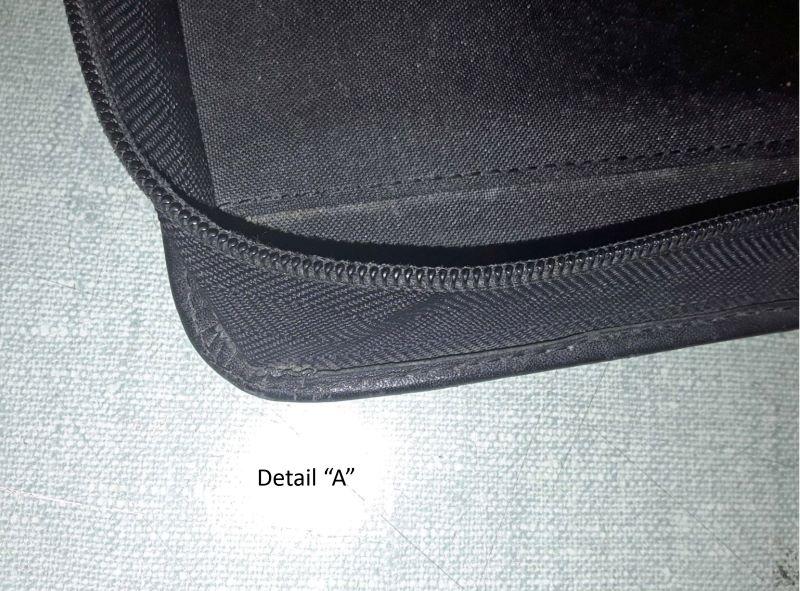
FYI: The link goes to "Instructables.com" which requires a login and password, so it is not accessible to most of us. I'd like to add that it would be nice to see what the finished bag looks like, that might help generate interest in the pattern.
-
Portfolio
LatigoAmigo replied to battlemunky's topic in Purses, Wallets, Belts and Miscellaneous Pocket Items
Then it looks like you answered your own question. It will certainly give your product a more finished look.