


LatigoAmigo
-
Posts
1,012 -
Joined
-
Last visited
Content Type
Profiles
Forums
Events
Blogs
Gallery
Store
Everything posted by LatigoAmigo
-
I can see that this really bothers you, and you are right, it makes no sense whatsoever. The headache for me is trying to buy decent glues, dyes and finishes. Most of what is available in California is "eco-friendly" but not as good as what is available across the country.
-
If that was the case, we would have the warning on everything we purchase, and that is simply not the case. I buy tools all the time and have never seen the warning on any of them. You might want to know that CA is a fairly large piece of real estate, and not every locale is in lock-step with Sacramento... think State of Jefferson.
-
That looks really good. Nice work.
-
Another case of lawyers looking for work, and businesses simply trying to protect themselves.
-
Obviously someone is just trying to be funny.
-
My favorite leather supplier up north is Maverick Leather in Bend, Oregon. You might take a look at their website: https://www.maverickleathercompany.com/
-
Needle is puncturing not cutting my hard leather
LatigoAmigo replied to Husky3's topic in Leather Sewing Machines
Glue and edge paint will not hold up to the rigors of your wallet. You might have to use a punch rather than a chisel to get through this leather. -
Have you tried Pacific Trimming? They carry RIRI zippers, and appear to have what you are looking for here: https://www.pacifictrimming.com/riri-m4-one-way-silver-teeth.html
-
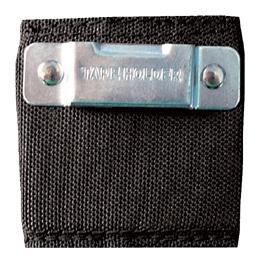
Found it here for $3: https://www.toolbeltstore.com/belt-accessories/604-Tape+Clip#.XISzkihKi00
-
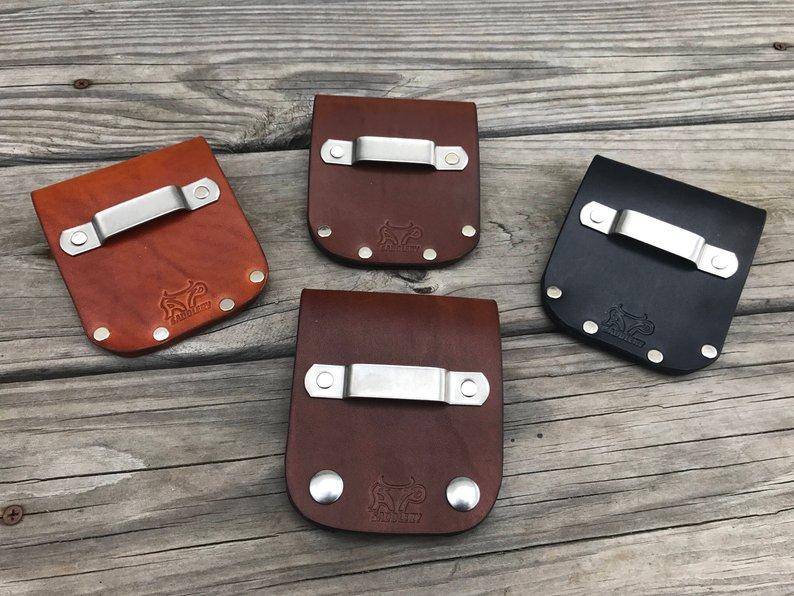
Found these on ETSY, at AP Saddlery Custom Leather Work, located in Pine Grove, Louisiana. Perhaps the shop owner can give you a lead. Good luck. https://www.etsy.com/shop/APddlery?ref=l2-shop-info-avatar&listing_id=547522791
-
Making a sheath from a drawing
LatigoAmigo replied to TargetRockLeather's topic in How Do I Do That?
Just a thought, and it may not make a lot of sense, but maybe you could build a prototype out of something not leather, like canvas or oil-board (from an art supply store), and send that to your client to have him verify the fit, suggest adjustments, etc. -
Mexican round braid question
LatigoAmigo replied to Clintonville Leather's topic in How Do I Do That?
This happens when I stitch a gusset, but is not so apparent as when braiding. You might have to do a little math and reconstruct the gusset so the holes on the curves are closer together. -
Those are gorgeous. My best guess is that this look is created with paint and/or resist. The leather does not look to be affected/damaged, but looks like it was antiqued. Maybe not so different than sponge painting on a wall using leather dyes, but finished with a blow-torch.
-
Luck horse. Very nice.
-
You are using a chrome-tanned leather, which is naturally softer than veg-tanned leather. There is nothing I know of that you can apply to the leather to make it stiffer, so when I need to firm up chrome-tanned leather, I line it with a fabric interfacing or a thin leather. In your case that would be difficult, so you will want to visualize the finished product and know that by the time the hide is folded and sewn together, it will look and work great. Keep in mind that hides do not have uniform firmness; the shoulders and back are more firm than the belly.
-
To be honest, this looks like a pretty advanced project for a beginner. Leather working appears to be pretty easy at first glance, but takes a certain amount of experience to gain knowledge of the skills, tools and materials in order to make something as sophisticated as the sleeve you are looking at, and have the result look professional. You will definitely want to make a prototype out of either cardboard or maybe canvas (I use "oilboard" that I get from an art supply) to get a sense of size, and to make sure that the various components line up the way you want. I have to build a prototype almost every time, as there is always some problem that I cannot see until I am holding the thing in my hands. You really don't want to waste your precious leather on a project with problems or errors.
-
What a beautiful saddle. Nice work, you should be proud.
-
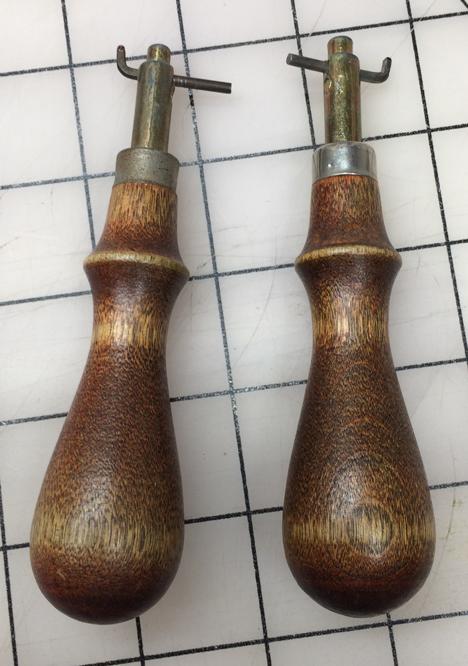
Is this what you are looking for? I have two but haven't used them in years, and never used them much then, so they are both low mileage. I'd be glad to give one or both of them to you... just let me know.
-
Strongest Adhesion But Most Flexible Contact Cement For Leather
LatigoAmigo replied to Toddo's topic in How Do I Do That?
This is clearly overdoing it. Since this is just your lining, you don't need to do two layers. Try this: go to Home Depot and buy the little bottle of Wedgewood Cement with the red label. Avoid the green label, it doesn't work as well. The little bottle is probably less than $5. Then test your process on a scrap piece of leather, while following the instructions on the bottle. You will find the materials will have set up in hours and be fully cured in one day. -
Strongest Adhesion But Most Flexible Contact Cement For Leather
LatigoAmigo replied to Toddo's topic in How Do I Do That?
I have used this product before and can say that when laminating felt to leather, it will be completely flexible. I have used various types of adhesive, and had varying results, mostly depending on the leather's ability to absorb the adhesive. One solution you might try is iron-on adhesive. You can find it available on Amazon. It should work like a charm. The felt is so soft and pliable that you shouldn't have any problems with the material buckling in the fold of your bag. -
Pretty hard to not char the edges as the heat from the laser is what cuts the leather. Thinner leathers can be cut with less heat, and some leathers seem to pick up less charring than others, but there is always some residual effects from the laser cutting process.
-
Have you considered making them with a laser cutter? That would allow you to have various size and typeface options.
-
I made a braided shopper bag
LatigoAmigo replied to Hahn's topic in Purses, Wallets, Belts and Miscellaneous Pocket Items
I like it very much, it is beautiful. But I do have a question about the construction. Why would you choose to stitch the sides then braid over the stitching? That adds a lot of time to the construction and seems redundant. Would you do it the same way if you were to make the bag again? Thanks for your reply. -
When I was in the Navy we trained with you guys from the Coast Guard. Quite an elite unit, but what was confusing was that the uniforms looked like ours, except for a little white plop of something on the sleeve.
-
No questions, just compliments. Beautiful watchband, fantastic photos. Good work.