RockyAussie
-
Posts
3,265 -
Joined
-
Last visited
Content Type
Profiles
Forums
Events
Blogs
Gallery
Store
Everything posted by RockyAussie
-

My second leather project
RockyAussie replied to KenJWan's topic in Shoes, Boots, Sandals and Moccassins
Very well done and the lasting looks excellent. I think like with knives and their pouches you should be showing the lasts beside as well One question ....what do you mean when you say " Unstructured toe" ??? -
True story.....I nearly got shot doing that once. Very HOT day and the Police pulled me over and asked me to get out of the car. Hot road so I reached down to get my shoes and the next thing I had a gun through the window next to my head. Luckily after he stopped shaking he recognised me and all turned out alright in the end.
-
For this type of work (normally pretty slow) I would do it for every 4 hours of use but if doing heavy and hard I'd drop that back to every 2 hours. I do, do the bobbin area with a couple of drops every second bobbin though. When they are quite quite I feel better
-
I did understand that but as you mentioned the noise change on the Consew 227 I thought it may help if you checked out all of the different oiling points on it as per in the manual. 8 different points just around the cylinder bobbin case area. There is also some more up the top end under that cover if you have not noticed it in the diagram. With the Zoje and any other self oiling machine I would recommend running them on high speed for a minute before starting your work. This will allow the oil to pump around and get the oil out and about to where it has to be. If after that, there appears to no oil getting around after an hour or so then you need to increase the oil flow which most machines will have a regulator somewhere to adjust this with. If you adjust too far you will have oil flying out everywhere and that's not desirable either.
-
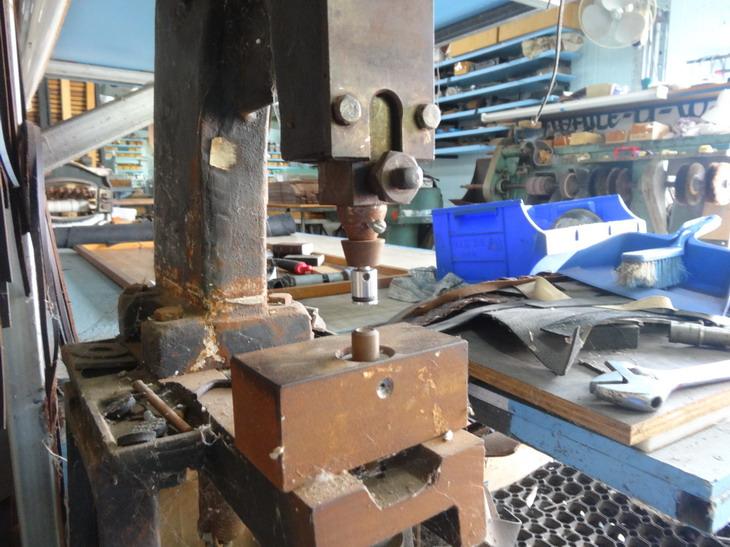
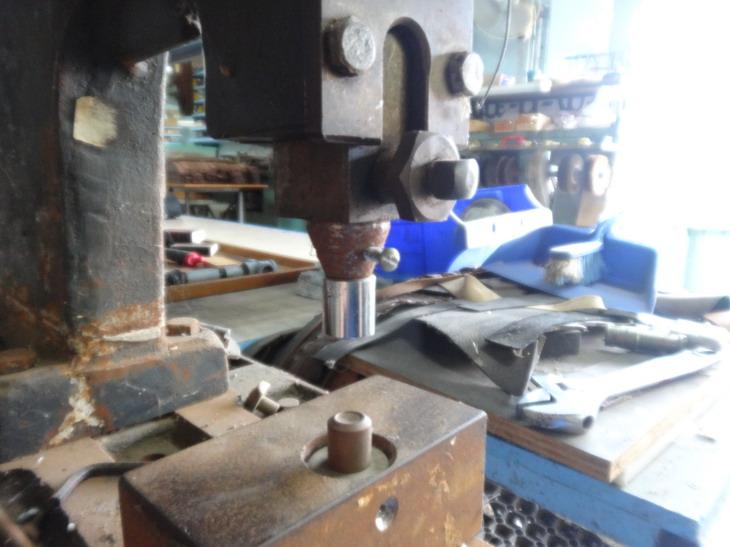
It has a pneumatic cylinder with a fair bit off mechanical advantage as well built in, so therefore the pressure is variable and not generally something you want to get your ...............finger stuck between I can bring it down slow or like a hammer if I want and I haven't found any rivet/stud it cant do yet.
-
A picture would help but is there room for a spacer washer between the offending die and the ram? Does it happen with any dye's? Note that if you have a moveable base piece it can be centred where ever is needed as well. Thanks Mike but I would have been happier if I had thought of it maybe 10 or so years before I did, I would not then have a whole heap of little different presses for different dyes although they still come in handy sometimes. P.S. Been thinking some more about doing some of that tutorial stuff but I will save that for another post.
-
There is quite a few spots to oil if you check the manual page 4 figure 8. http://www.consew.com/Files/112347/InstructionManuals/227R-2.pdf
-
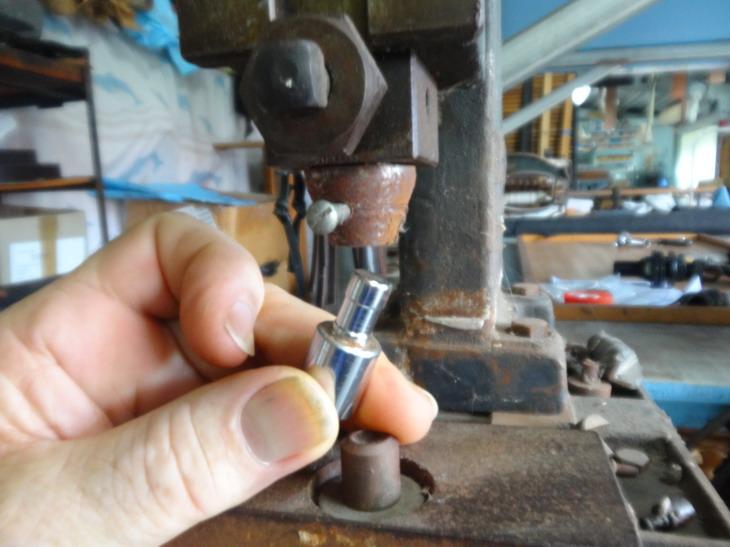
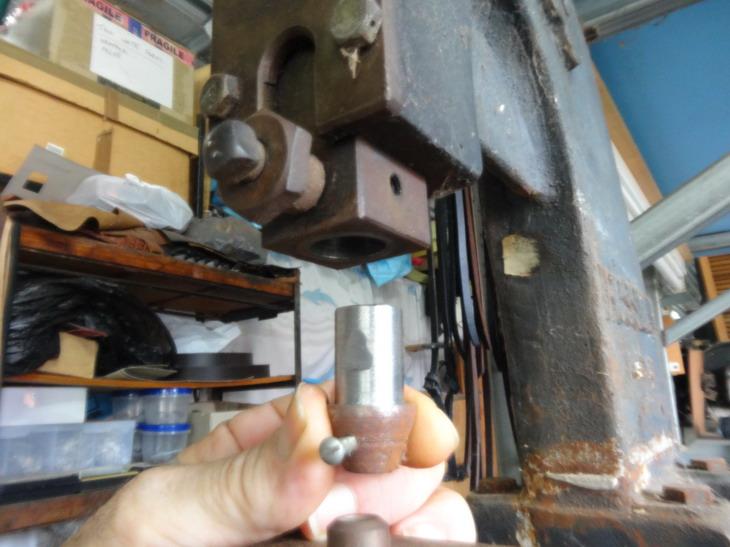
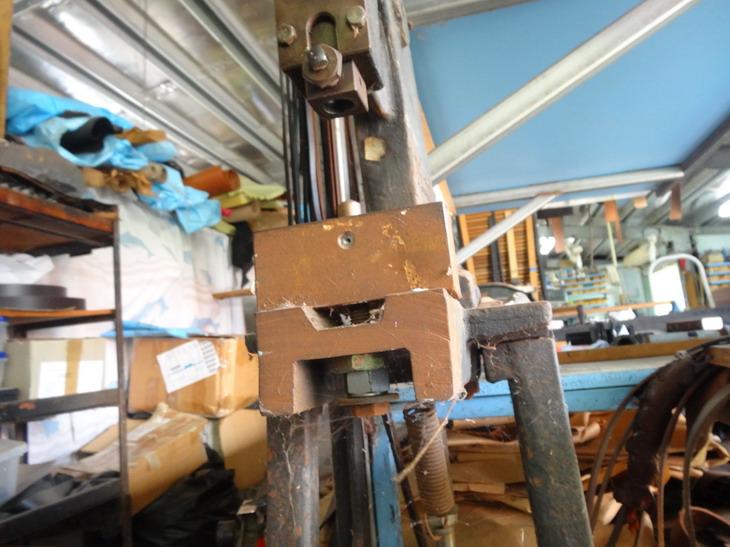
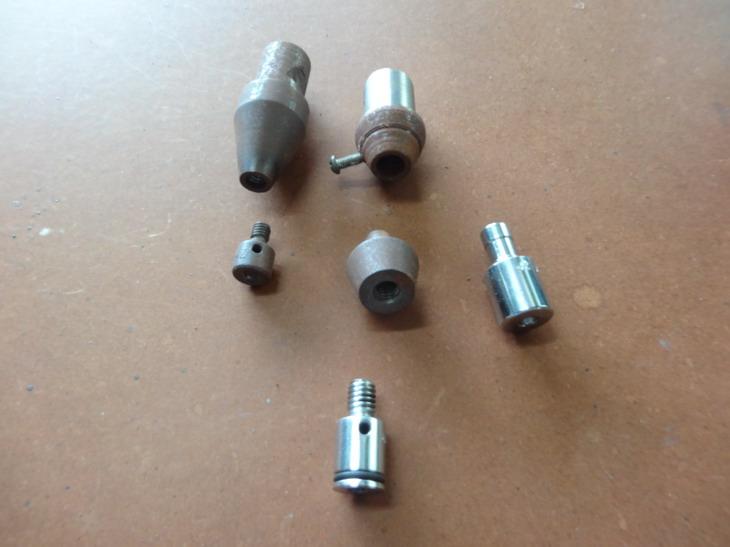
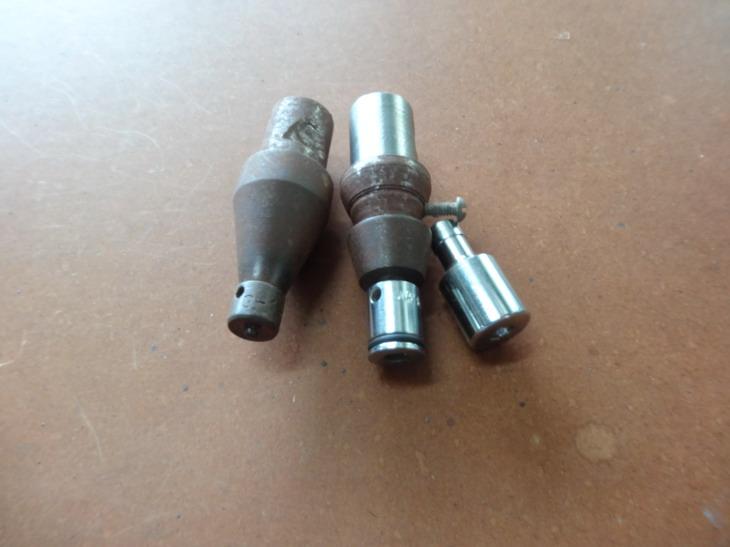
Here you go I think the pictures should cover it ... After doing the first one on the top left and tapping the hole for the small threaded ones I got a bit smarter and did the 2nd one one the right so that it could receive the larger threaded one below it or the ones without thread as on the far right.
-
Hey @dikman if you can be patient enough for a few hours I will take some pictures of a set up I've done here. Basically it allows me to do a quick change over for whatever the thread type of the die required or even in some cases some with no thread at all.
-
It may be just something optical but is the feed dog angled to the right? If it is rubbing the edges perhaps on the needle plate may cause some noise. I generally put a couple of drops of oil down into the hook bobbin case area between every 2 or 3 bobbin changes. You will note a quieter change every time you do this.
-
Very nice work there paloma
-
I have seen this statement before but nothing that comes even close to backing it up when it comes to the landed cost. Sending it back and getting any further satisfaction would also be I suspect another pie in the sky.
-
Men's belt wallet combo
RockyAussie replied to Albob's topic in Purses, Wallets, Belts and Miscellaneous Pocket Items
Sorry we call them keepers and some call them belt retainers. The loop that holds down the tongue after the belt tip goes through the buckle is what I call a belt keeper normally. -
Thanks for sharing your efforts with us all. Have you made one up yet and have you got any pictures to show?
-
Dedicated wallet machine advice
RockyAussie replied to guntechholsters's topic in Leather Sewing Machines
Ha Ha...... best she doesn't see that link down the bottom here to my "Wild Harry" web site then A? -
Men's belt wallet combo
RockyAussie replied to Albob's topic in Purses, Wallets, Belts and Miscellaneous Pocket Items
Nice looking work there @Albob.The stitching on the belt looks very good but the keeper....not so much. When I do keepers I always back off the top tension at least a half turn compared to the belt. They can still look good when they are out flat but when they get pulled around into shape the bottom thread gets loosened and the top gets tightened and ......bugga. I believe it is best to set the knot as close to the bottom as possible on keepers. Regards Brian -
Dedicated wallet machine advice
RockyAussie replied to guntechholsters's topic in Leather Sewing Machines
I am more than glad for you to pick my brain for whatever there is there left to be picked. You can do that here or through pm on here if you like but I don't do the Facebook stuff myself. Maybe FB one day but most of my spare time and interest gets put into this LW site at present. I like that it gives help to many others all over the world and allows for other perspective and useful ideas to be considered at the same time as is shown above. -
Dedicated wallet machine advice
RockyAussie replied to guntechholsters's topic in Leather Sewing Machines
Most of my wallets are not flat and I like to stitch them fully around....Same with most of my purses ...therefore my reason for preferring the small cylinder arms.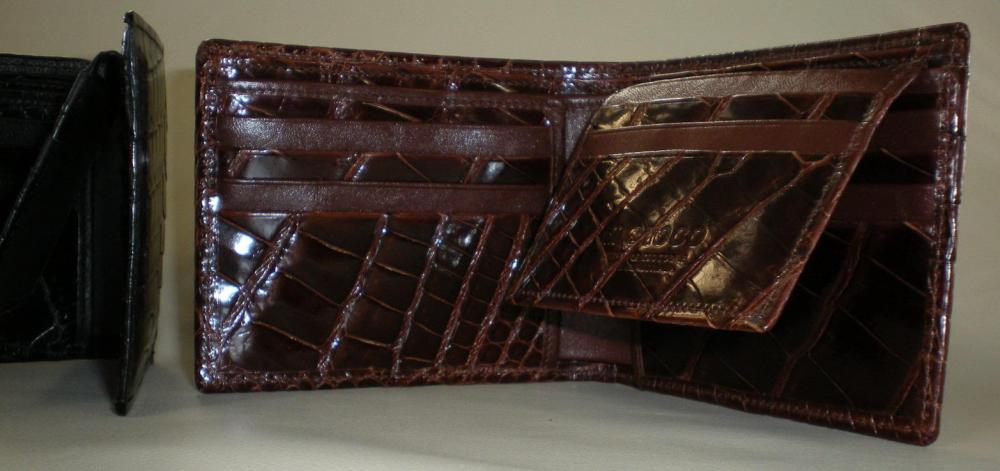
-
Dedicated wallet machine advice
RockyAussie replied to guntechholsters's topic in Leather Sewing Machines
I would recommend to look for a pfaff 335 or clone of or a 69 Adler. The small cylinder cap size come in very handy for the type of tight manoeuvring steps. The Adler 669 is very popular but a little high $$$$$ perhaps - https://www.weaverleathersupply.com/catalog/item-detail/669-180010/adler-669-cylinder-arm-sewing/pr_34772 The Techsew may suit as well - https://www.techsew.com/us/techsew-2600-narrow-cylinder-leather-industrial-sewing-machine.html and there is one in the Cowboy range as well called the 7335 -
Thanks jimi
-
I would have to say that for the job your describing here the 18 needle and 69 thread would be fine and the available thread size colours a bigger range as well. If you are doing more thicker and uneven leather layers than going with a bigger needle and thread is recommended as the needle will not deflect as much and give uneven looking back stitching as well as less missed stitches. Congrats on the new machine and I suggest spending a day on practising and getting to know it.
-
Most welcome and I hope it helps sometime.
-
Hard to get details for certain but for holster work I think you'll need the class 3 but as the leather point needles go up from size 23 your threads would need to go 138 or larger. for some wallet work that probably won't work. Class 3 =7/8" thickness possible,threads up to 415. Class 26= 1/2" thickness possible, threads go from 45 to 210. (Should cover most of your stuff I think) I cant swear by these details but lets see if I got it wrong.
-
Hey @jimi can I ask if you ever got any price for the Frobana presser foot wear piece from them or anywhere? I got something like 4 Frobana's here and every one of them needs one.
-
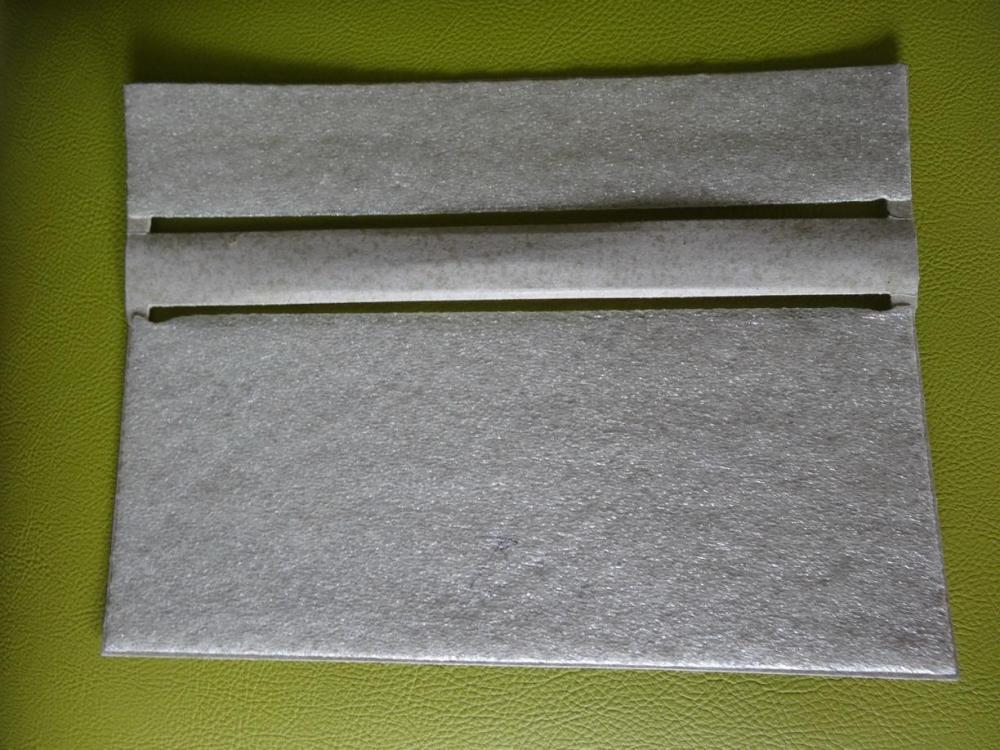
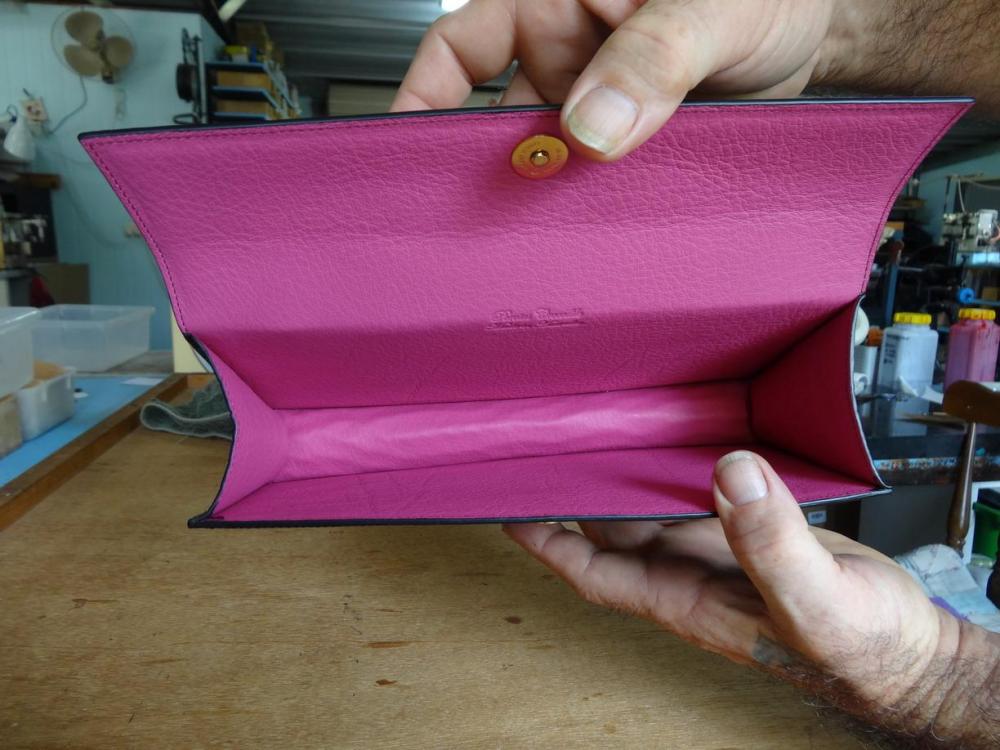
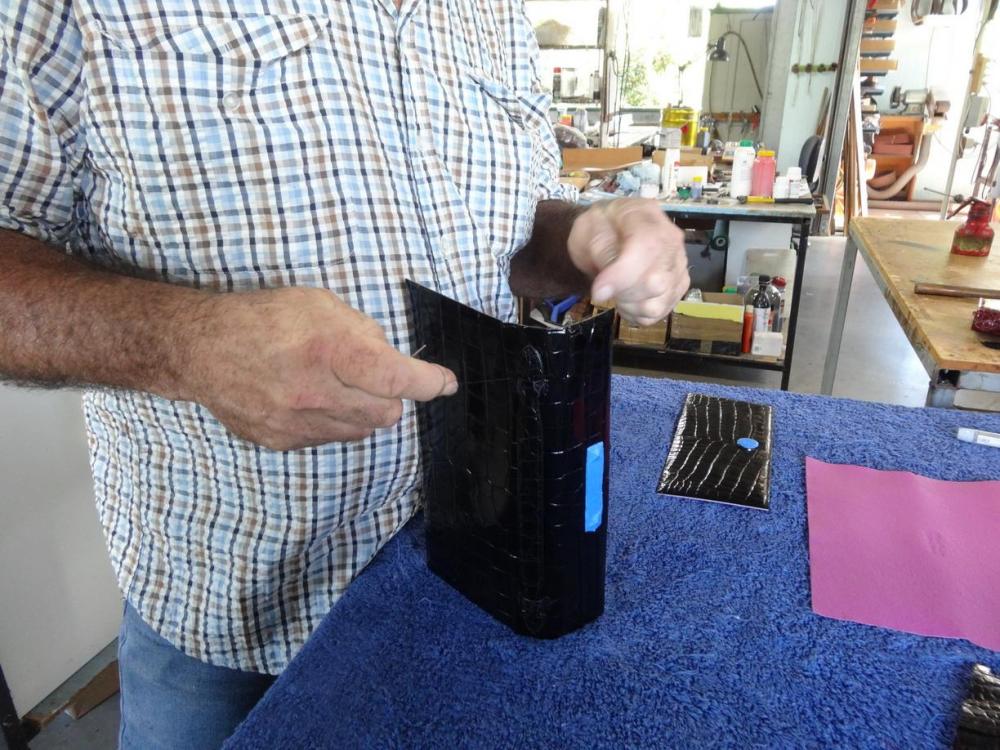
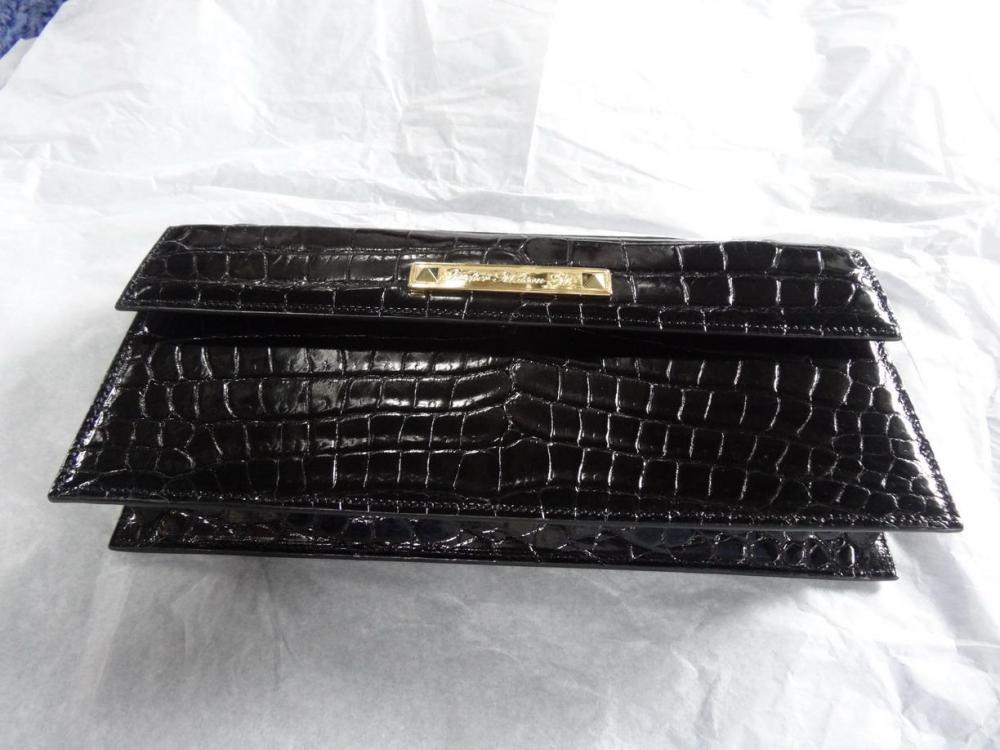
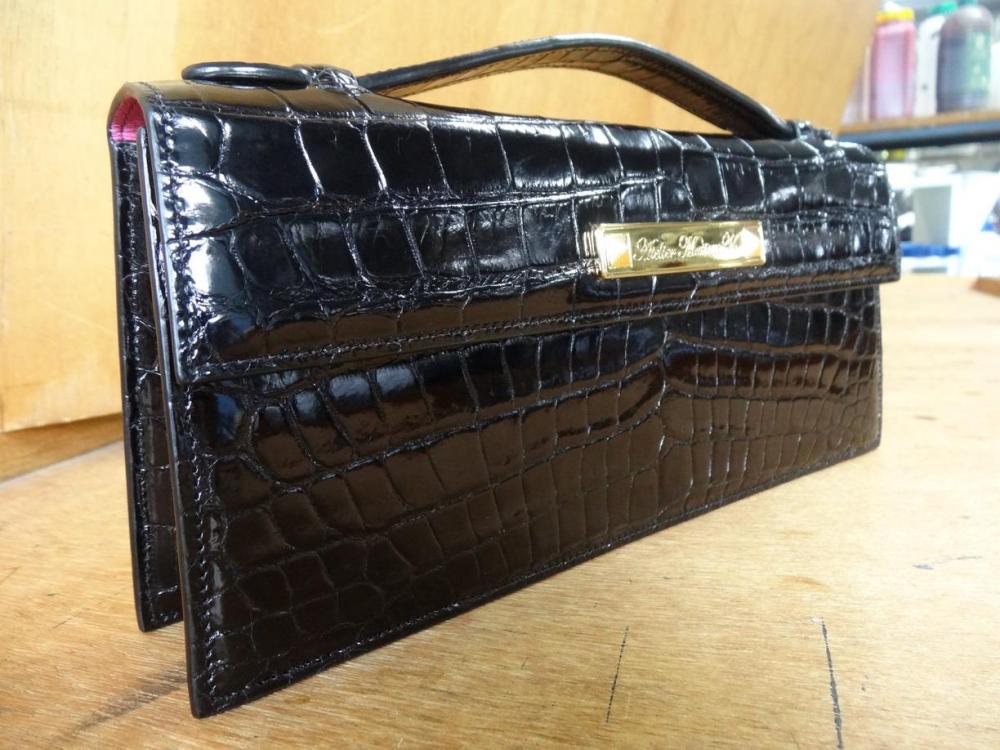
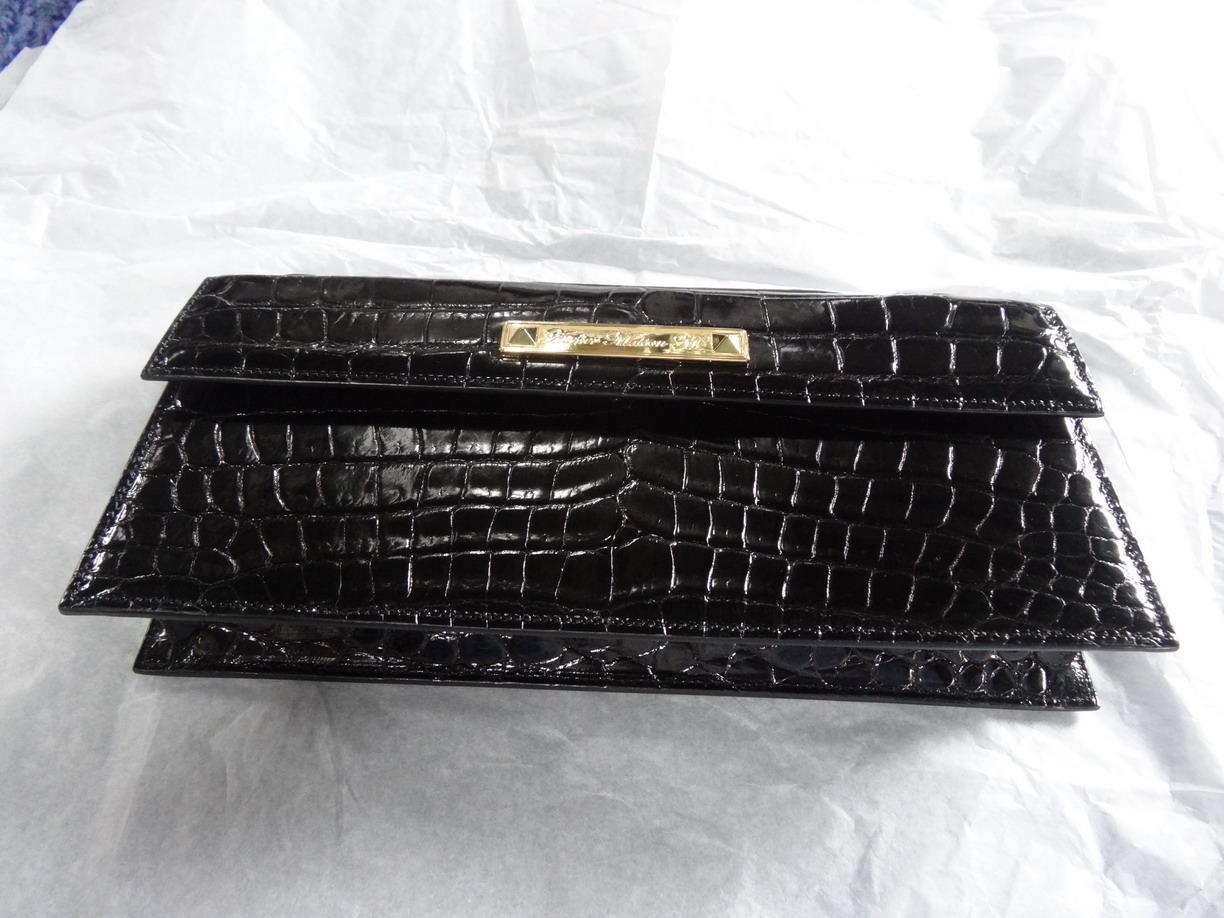
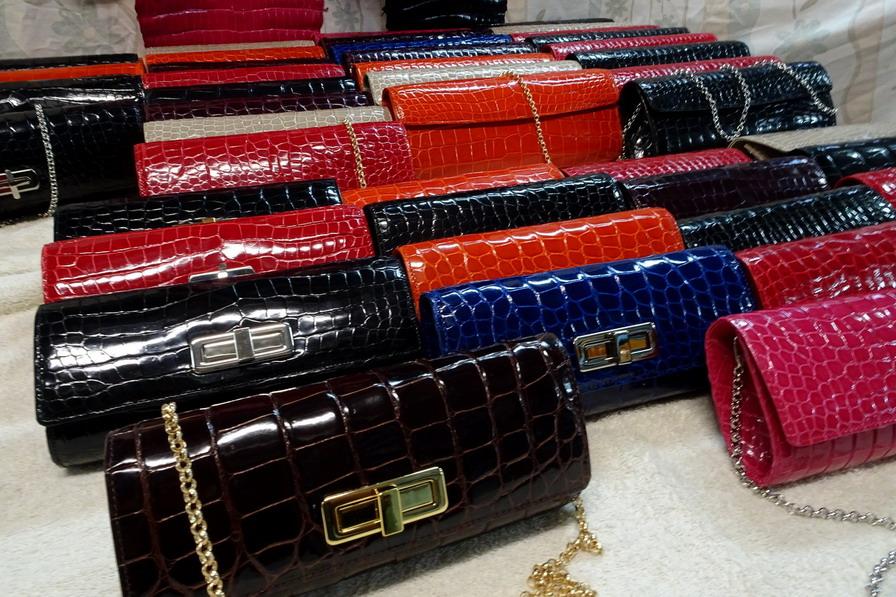
All I am trying to say is that an attached lining piece will stiffen the lid front and help to stop it from going all curly in use. I don't myself generally get to design for plain leather products (non exotics) and therefore generally have to do full leather linings but that does not escape the need to stiffen the lid section anyway. I will put a few pics below showing how I do the lid flap stiffening normally if that helps. I picked this bag as it has a single magnetic closure in under the brand fitting- Note that the lid in this case must be able to stay stiff enough to take the constant opening and closing over a wide area - Inside showing the closure - Showing the stiffener and foam lining that gets attached to the croc- This one shows on the far right the leather lining that is oversized to start with. It gets glued and attached after the handle is stitched on and then trimmed down afterwards and edge coated. I am only suggesting to attach a liner to the inside of the lid flap on yours. I recommend that this liner be attached so that it is a little tight going across to keep the flap pulling inward very slightly. This can also be done as an inner lid pocket if you prefer.