RockyAussie
-
Posts
3,265 -
Joined
-
Last visited
Content Type
Profiles
Forums
Events
Blogs
Gallery
Store
Everything posted by RockyAussie
-
Just curious ....have you checked out the Chek Hong tannery. We get a lot of skins sent to us from over there but I have never been there myself. Another really good tannery is Heng Long Leather and we get some skins sent from there as well. Both do a beautiful job of tanning Croc and delve into product making as well I believe. Regards Brian
-
Now that I can see as a way of making the moola and having some fun as well myself. Heaps of green wood on my place to hack up as well.
-
 Would love to be able to help on that ....quite like it myself. If I find it I will let you know. I would have thought Ohio Travel would have had something close. Oh and thanks for the pics on the snaps.... just shows ya where there's the will there is always a way.
 -
Looks pretty good... Well done!
-
Come on now ....you know I'd look so good on you ....

-
Tale of a tail ..... Looks very well done. Would like to see the clip better. With the edge coat it can stick to itself in hot weather if left in prolonged contact. I found it best to give a good wax polish when finished after a days drying time. Brian
-
Hey Alex, What I did for a Frobana sole stitcher I had, was to tap in a post for a simple pair of singer tension discs into the top of the machine. I then ran the big spool down onto the floor behind the machine to one side a bit. This worked very well and gave me better control of the tension particularly on nylon type threads. Beats the hell out of rewinding the threads at least. Brian That is a very nice looking 2c worth I have got to say.
-
Leather glues how do they work?
RockyAussie replied to Misterbeesleather's topic in How Do I Do That?
I am wanting to understand why it is you want the glue to stick only temporarily? There are quite a few glues that can be used for different purposes but I have never wanted to use a temporary one in my wallet making section. Brian -
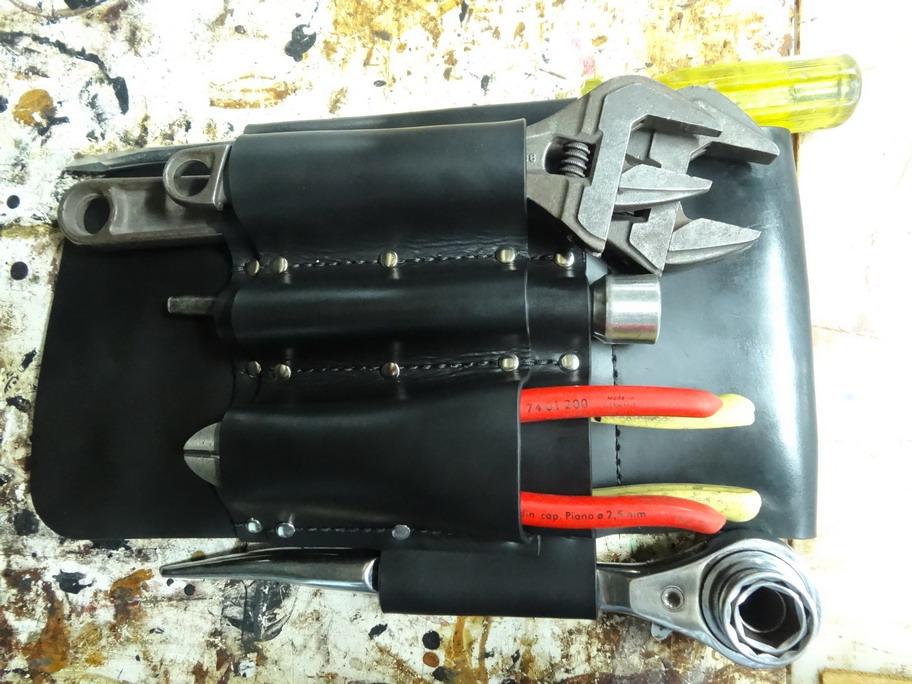
If your looking at doing holsters and horse tack I reckon you will need at least the 3500 but a 4500 would better still as as far as I know the main difference is that the 4500 can lift higher than the 3500. I have to say you would be able to get down to the 6oz ok with it alright but a narrow feed dog and throat plate can get you right down to 4oz garmet as well if you want. I am not sure how you will go getting the narrow plates and dog and I would look into that first. Here is a couple of pictures of mine might help. Here is a link I posted a while ago on this point ...might be worth a read. Brian

-
WOW.... now that's looking a whole lot better to me...congratulations. P.S. keep an eye out on @motocouture work. If my rememberer is working right she is from over that side of OZ as well...originally. Cheers Brian
-
Onto the third bag....
RockyAussie replied to motocouture's topic in Purses, Wallets, Belts and Miscellaneous Pocket Items
Well done and it may be a good time to look that guilty one in the eye and tell him its time we made a doggy bag whilst stropping your knife of course ......... -
It looks like a difficult leather to work with. The brown one to me shows signs of overskiving and I would say if you can try the saffiano without any skive and as well change to a point neddle and not a leatherpoint as that will stop the plasticy finish from opening out as much. Also you would need to tighten your top tension maybe 2 or 3 turns and your bobbin tension maybe a 1/2 turn as well. Once stitched....warm up with a heat gun up and down the seam until the leather is quite warm and towards hot then press around to get the shaping sitting as you want. I suggest to practice with some scrap first and try and work out how far you can cut back on your seam allowance and tap down. The back seam in a court shoe has only 2mm or less and is then pressed flat after stitching. A good shoe does still show next to no stitching at this seam. Experiment and have fun learning. Brian
-
Onto the third bag....
RockyAussie replied to motocouture's topic in Purses, Wallets, Belts and Miscellaneous Pocket Items
Beautiful. Now is a good time to play around with flexible stiffeners and padding s I'd say. -
Good deal? Cowboy CB 29 18” arm
RockyAussie replied to WoodsHollowLeather's topic in Leather Sewing Machines
IT looks like there is some sort of drive and may be a reduction motor on it. Probably a bargain. Take the belt off and try the handwheel again and if it then turns freely I'd say its likely a good buy. Fantastic if you want to sew patches on or get down into tight areas. Brian -
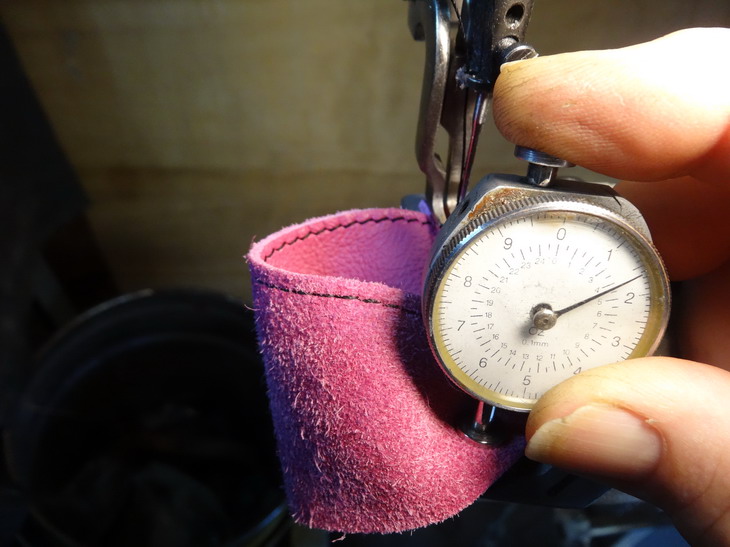
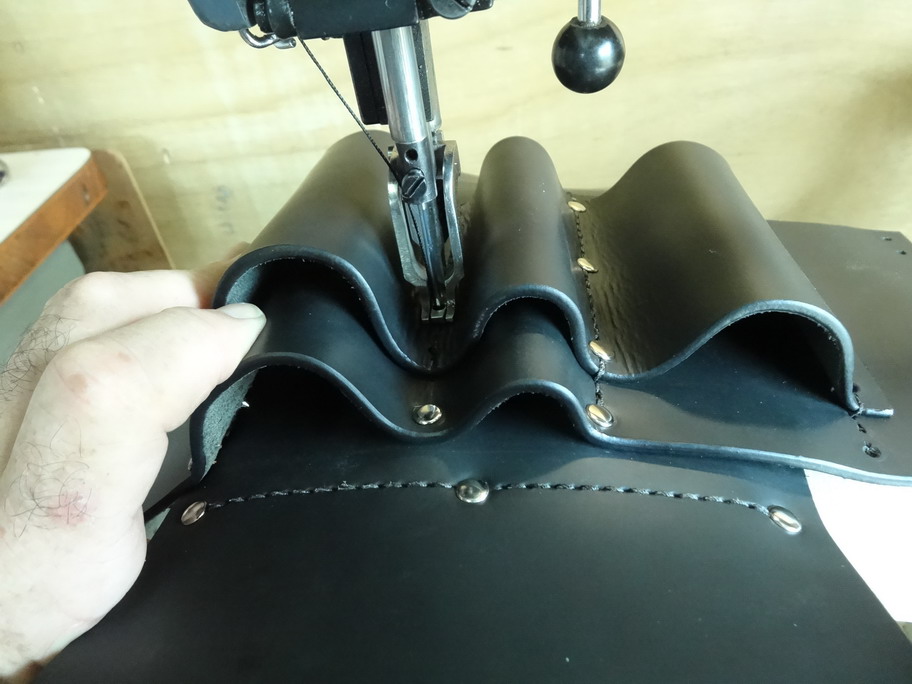
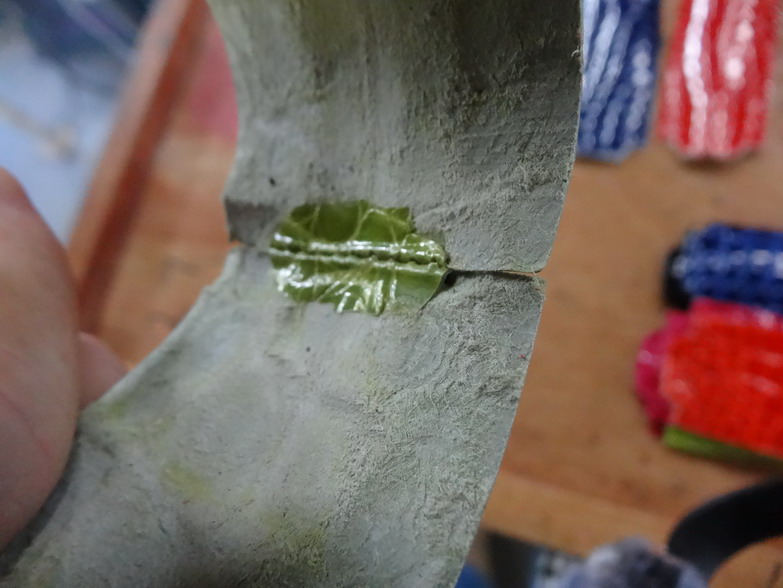
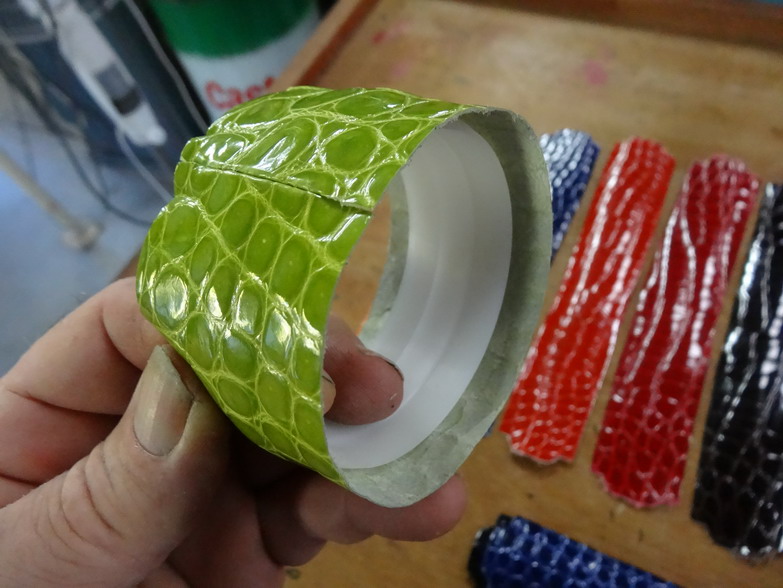
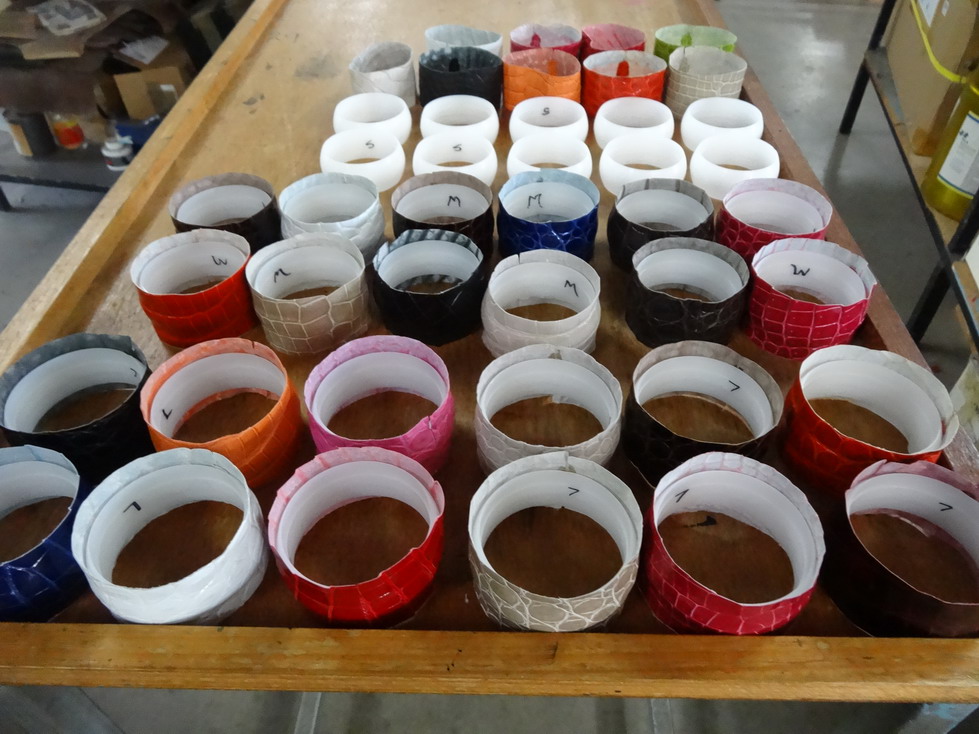
Always hard to find a picture that shows what you want when you want it. I found a couple that should do alright I think. In the first picture I am doing a join on a bangle and it shows what I mean a bit in that you glue down at the thread seam and and away from the seam about 3/16" or so. If you glue all the way out on the 3/8 the edge will normally show up. With practice you learn to push the fold back toward the seam and not to pull it wide apart as that makes the stitching show up a lot. I was doing a run of pictures here on how to make these bangles and forgot to take some pictures when I finished them so.... next run maybe. There are a few bags we made in the following picture that show the seams as they should look when finished. Regards Brian

-
Chrome tanned leather strap machine
RockyAussie replied to BenjaminEstberg's topic in How Do I Do That?
As I said... I don't think this machine is what you want for the job but what I have is a BUSM thermo cementing and folding machine a little like the machine in this video link below. I would use a separate glueing and folding operation for strip work using as Sonnydaze said in his link above and for the glueing I have a machine as in this link which Campbell Randall should be able to help you with as well http://www.omacsrl.com/products/preparation/gluing-machines/gluing-machine-992/ I use the 60mm width ones but you may want wider. Doing the 2 steps separately would be easier and faster if using contact cement. Regards Brian -
As you don't have a skiving machine yet I would leave it unskived and glue down only from the stitch line back about 1/8 to 3/16" leaving about half unglued. That is assuming your stitching around 3/8" in from the edges. Fully glued will show up on the outside and not look good. Do NOT pull back too firmly as that will tend to make the thread more noticible and also not look so good.I would do a few practice pieces and get the feel of how much tension is needed to make it come out just right. I would use a bit of firmish leather for the reinforcement as it would adhere better and move with the bag more as it flexes around. ( less noticeable) . Regards Brian
-
Do you mean putting something in between the outside and lining? YES. The weight of the bag on to the rivet area in that type of seam would need a good bit of reinforcing to distribute the weight over a wider area and stop pressure going onto the seam stitching alone. I would even be tempted to do a little square stitch through the outer and reinforcing strip going over the seam top and bottom and around the rivet. This would be hidden by the strap when attached later. If you have the bag already made I would carefully try and stitch around the area where the rivet is to go right through the lining. This could lead to the lining not sitting right if you get it wrong though. Hope that helps. Brian
-
Chrome tanned leather strap machine
RockyAussie replied to BenjaminEstberg's topic in How Do I Do That?
Does the webbing go inside before the folding or after? A picture might help. I normally glue the strips with contact before running through the folding machine as separate operations. There are machines that can do both in one operation but more used in the shoe industries with hot glue. I have one but for strip work I doubt it is the right machine. -
The hole through the seam shouldn't be any problem as you would usually put a reinforcing strip at the back to to take the load and that would be well glued into place. The stitching won't separate from the glue. Myself... I'd do a 2" by 1" strip about 2mm thick with skived edges. Glue into place ...hole through the cetre of the lot and rivet into place.
-
Thanks @tzleather I hope that it is of some help to you in the future. If you're really to worried to do a roller for yourself ...send me a foot if you have one spare and I'll make you one up like mine for $60.00 au. I have no idea why they don't make one's like mine as they last well with a little oiling and make the skiving so much less trouble.I still use my old brass one mostly. Brian
-
Just a little croc.
RockyAussie replied to RWClark's topic in Gun Holsters, Rifle Slings and Knife Sheathes
Excellent work on that bony ....stuff. -
Its all a bit rubbery I reckon. I think that the measurement when taken from where the strap starts from the buckle end is a rough guide for when you have been given a waist measurement that someone has taken with a waist measure tape. When you look at the circumference difference between a tape measure and a 4mm or 10oz piece of leather..... the leather has to be 1" longer to reach the same distance when wrapped around. That is about an average buckle gap to where the tongue would go into the hole or near enough. If the belt is thinner or more stretchy measurements will change a bit but is normally safe enough to use unless a long prong type buckle is wanted. Still will normally work alright though. If you have a belt of the customers to work with then you would use as a guide.. the buckle prong or where the tongue touches the buckle to the most worn hole unless there is going to be a big difference in the leather thickness. Here you can allow for the differences in buckle lengths as well. Now that should make it all a bit clearer Regards Brian
-
Onto the third bag....
RockyAussie replied to motocouture's topic in Purses, Wallets, Belts and Miscellaneous Pocket Items
No 1 ....it wasn't me. No 2 ... that is I am busted guilt look I reckon . It will turn out beautiful. -
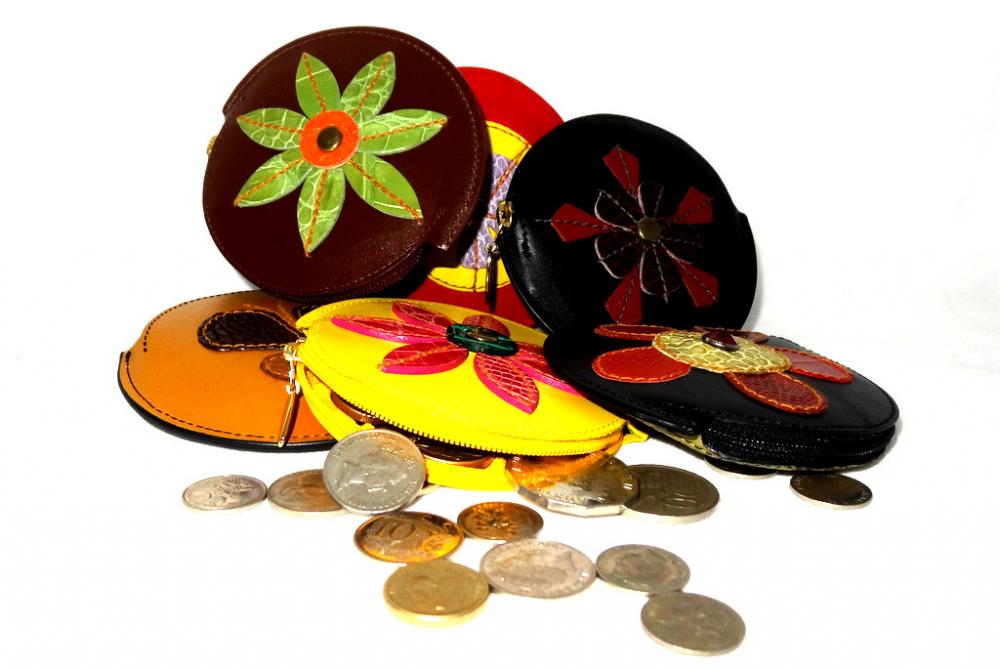
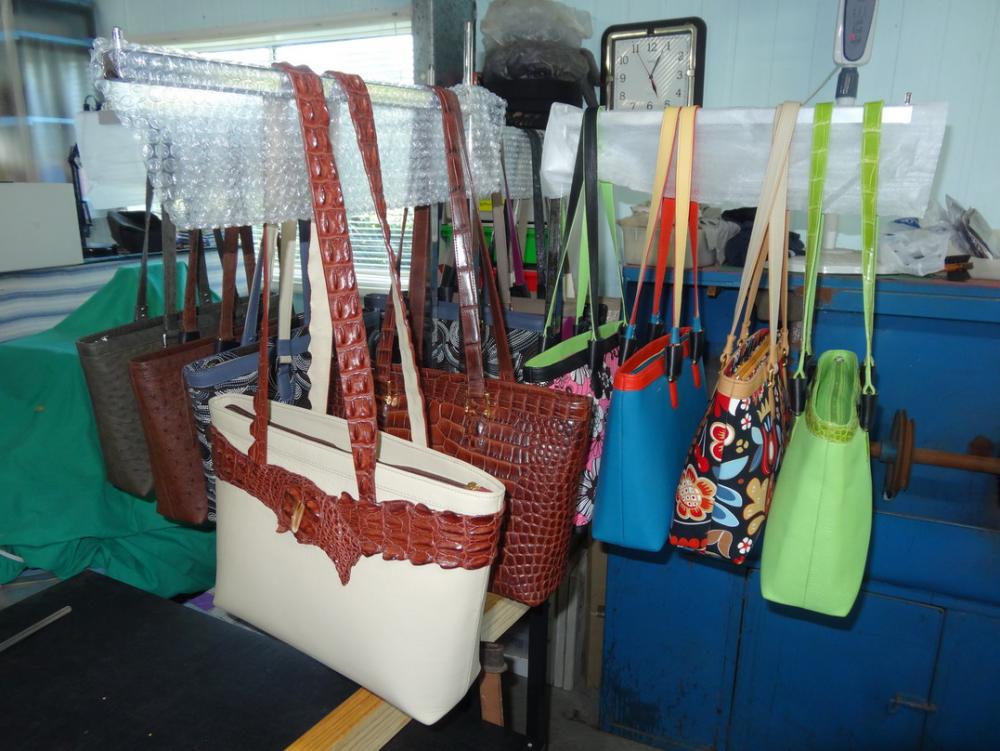
Small coin purses sell very well especially with a little exotic skin thrown in or on. Check my you tube for a little of the idea.